Showing posts with label DIY. Show all posts

Saturday, April 4, 2015

Forgeries on the Fourth: DIY Texture Paste

Welcome to Forgeries on the Fourth, Where we help you make all of the various bits and pieces for your kits. My forgery today is not in the inspiration kit exactly, but was inspired by the inspiration kits' name instead. As soon as I saw that we would be counterfeiting the Messy Box, I knew I wanted my kit to be a messy box of a different sort. I wanted to play with paints and stencils this month, and I knew that a texture paste would be a good addition to my kit. I have had a few recipes for homemade texture paste pinned for quite some time now, so this was just the push I needed to make some. And of course I will share how I made my version!

Here are the ingredients for the paste:

White paint (any brand is fine), cornstarch, glue (I just used Elmers' school glue), and a container.


I started with the Cornstarch (about 2 TBSP):

Then the paint-I just squeezed enough to cover the cornstarch. I ran out of the one kind of paint, so just kept going with another brand that I had on hand. I am not super picky, just go with the flow. And I added the glue ( about 1 TBSP)::


I stirred and then added a tiny bit of cold water mix it a bit better, as it was still a bit lumpy. Tip: stir with a knife rather than a spoon, it is much easier.

I wanted my paste to have a bit of sparkle or shimmer, so I added a couple of teaspoons of Rock Candy Distress glitter.We'll see if it works or not, it is all about creative play and experimentation today, right?


I wanted to see how it worked, looked, and dried, so I decided to apply it through the stencil in my kit. My stencil is 6x6, and my page is 12x12, so I decided to apply it across the center of the page. I applied with an old gift card to the outer two edges first,


 and then to the center a few hours later, after the outer edges dried:


I am excited to see where the next month takes us, and trying out a few "messy" additions to my pages.

Wednesday, September 17, 2014

Workspace Wednesday...Of a different sort


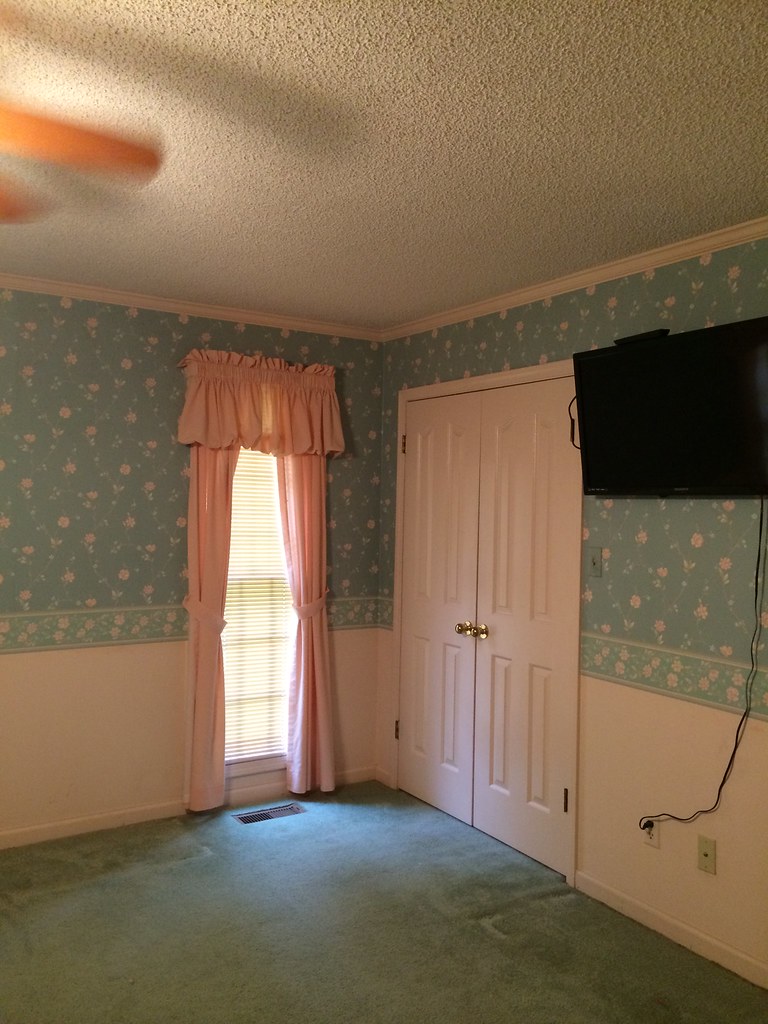
Normally I would show a glimpse of my craft room today, but since that's not where I am working right now, I will give you a peek at some iphone photos of what I am working on- my master bedroom. Note the peachy pink walls, trim, and doors. Brass everything, circa 1985. And the best part- the mint green carpet! Awesome, right? I meant, mint green is a pretty color, but...for carpet? Maybe not. We started a couple of weeks ago removing wall paper. Unfortunately, it was good wallpaper (20 years ago). Therefore, it was super thick (the steamer didn't loosen it), and it was pasted on. With A LOT of wallpaper paste. We spent a week peeling off wallpaper in teeny tiny strips and chunks. Along with chunks of the paper covering the drywall...what a nightmare! We also scraped popcorn off of the ceiling, which is easy, but super messy! You spray the popcorn down with water ( we picked up a new chemical sprayer at Wal Mart so we didn't have to keep squeezing a trigger bottle, we have a pretty large room), make sure it is well saturated, let it set for a few minutes, then used a wide scraper to scrape it off the ceiling.
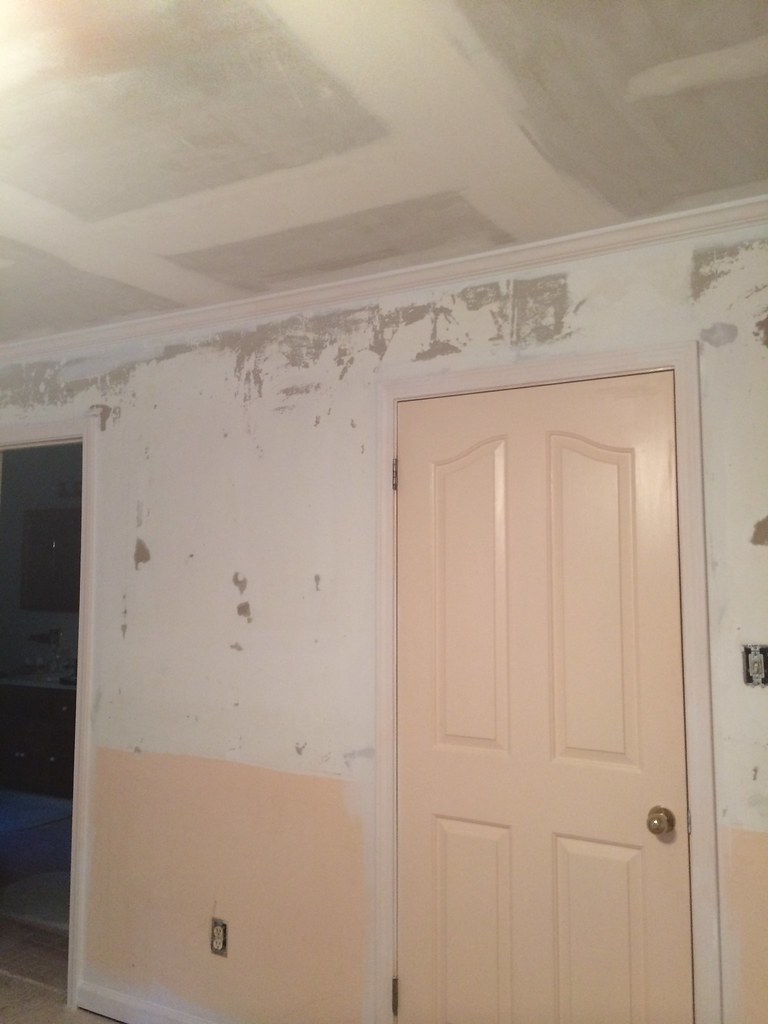
So our room looked like this:


Untitled


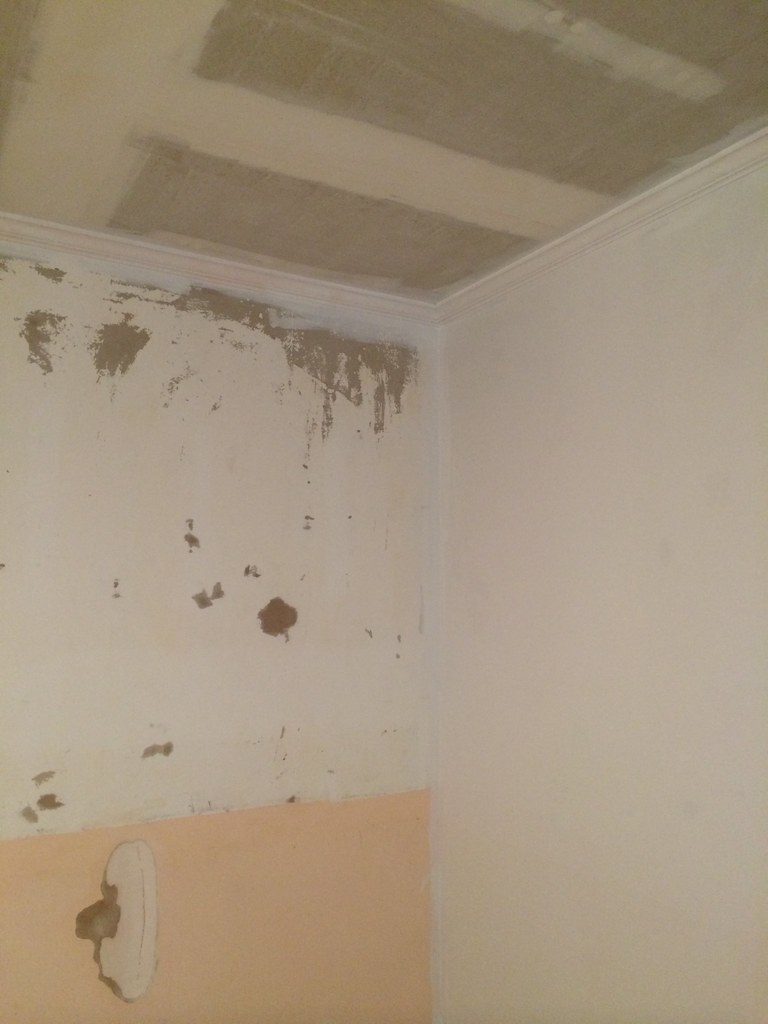
 You see all of those spots where the paper came off the drywall? Yeah, they have to be patched. And sanded. And patched some more...AGGGHHH. The prep process is my least favorite but the most necessary part. So. We spent one day spraying the wall down with water, and scraping off GOBS of wallpaper paste (you can't see it in these photos, but it is definitely there!) It took my husband and I working together most of a day to scrape it all off. Then we thought we would see if we could just prime without patching the bare spots. Nope. So we wasted a day priming. Well, I guess the day wasn't entirely wasted, because we did prime the ceiling, which needed it, too. But we could tell that the bare spots were going to show through the wall paint and stick out like a sore thumb. And we discovered that the cheap paint wasn't going to cut it. So, I spent the next 3+ days filling the gashes gouges and tears with this stuff:


And waiting for it to dry, sanding, and finally priming again. 
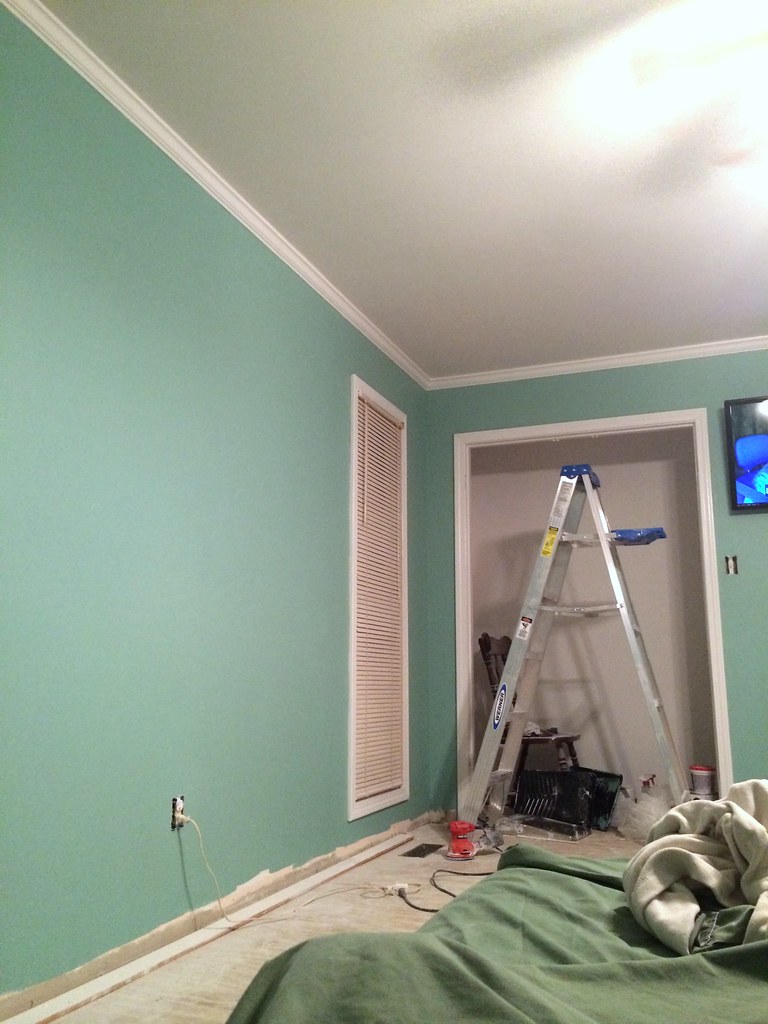
Trust me, I was so over this project by this point!! But, I was finally ready to start painting! So, I went and got some Olympic One flat finish (a flat finish will hide more imperfections than any kind of paint with a sheen, like satin, eggshell, etc). The color I chose was called Royal Palm:

Untitled
And this is very close to what my bedroom looks like right now. A construction zone, with mattresses on the floor. I'm hoping that my hubby will get enough time off this weekend for us to put in the floor, as that is something I am not quite prepared to tackle on my own. Fingers crossed! I am so ready to be done with this room! Today, I will be putting a second coat of white (Olympic One Silver Feather, to be exact-the trim color I am putting throughout the whole house) on the doors, and hopefully the hubs will be able to come home and change out the ceiling fan for a new, more modern and updated one, and replace the electrical outlets (they're all outdated, painted over in peach paint to match the old walls, and loose, cords just fall out of them). Luckily he has worked in construction, and is very handy and able to do all of this pretty quickly. He'll replace all of the old outlets and switches with new white ones, and it will look so much better!  Tomorrow, maybe the new plantation blinds can go up. So, there you go. That's what I'm working on. What about you? Do you have any renovation nightmares to share? Or are you getting crafty and doing fun projects for fall or your scrapbooks? If so, I'm a bit jealous, but I'd love to hear about it!

Monday, April 5, 2010

A "Something Blue" Bridal Shower


My *baby* sister is getting married in August, and she asked me to be the matron of honor, so of course, I had to think of the perfect bridal shower for her. Let me tell you, the logistics of being the matron of honor while I am in Tennessee and she is in Florida is a little bit tricky! But we finally worked out a date for the shower, and it was off to the races! I finally thought of doing a "Something Blue" shower, after tons of research on the internet.
First, I made the invitations. I cut the words, "Bridal Shower" with my Cricut and Sweethearts cart, and embossed aqua shimmer paper with the "Friends Forever" embossing folder for the Cuttlebug, and embossed the envelope flap with the Swiss Dots Cuttlebug folder. Here's another photo of the invite with a couple of the favors ( I will tell you about them in a minute, bear with me!):
I decorated a clipboard for the gift list:I cut the presents from the Sweethearts Cart (after coating the clipboard with an ENTIRE can of white spray paint and clear sealant), and added an adhesive ribbon from DCWV to the bottom and tied lots of aqua and white ribbon and lace scraps to the top.
Next, I made a ton of these little favors: The white dress box is from the Tie the Knot cartridge, embossed with the Swiss Dots folder. Some tips: MAKE SURE your paper is pressed very firmly to the sticky mat before cutting- a brayer would be a great idea! I tied an aqua ribbon around the waist, and used a huge roll of pearls that I picked up at Hobby Lobby when they had their half off bridal sale to decorate the bottom of the dress, and just taped the ends around the edges of the dress. The purse favors are svgs from Dan's blog, and embossed with the Textiles Cuttlebug folder, tied with a tiny white satin ribbon.
Then I made a little lingerie gift box for the tiny blue undies I gave her:
I used the pillow box svg file from Penny Duncan's website, added a black and white sticky border strip around the middle, and tied with an aqua ribbon with black stitching from Doodlebug, and embellished with some pearl corsage pins from WalMart, and a corsage cut from Tie the Knot.
I made some gift bags for the game prizes, using some yummy satin ribbons and cuts from Tie the Knot (the scroll heart and the bell), and Sweethearts (the presents).
Here is a close up of the towel cake I made for the centerpiece. I used the Grungeflowers svg file from Dan's blog for the roses I put on top, and tied some pretty aqua satin ribbon around some plush white towels. The monogram plaque was created with the Tie the Knot cartridge and Swiss Dots embossing folder. My mom's gorgeous crystal cake stand really made it perfect.
Our cousin, Jocelyn, made the cake. It was red velvet and sooo yummy! The "pearls" in front of it are actually Sixlet candies from the wedding section of Hobby Lobby. We had a coffee punch with chocolate and vanilla ice cream in it, which everyone slurped down (3 punch bowls full!).
A side view of the cake:A picture of Jocelyn, my other sister Elisabeth (in the back), the bride-to-be, and myself.A photo of the corsage I made for her with Dan's Grungeroses svg file, paper, ribbon, and tulle. A photo of the banner that I made with the banner , monograms, and lovebird from Tie the Knot, tulle, ribbon, and I "Glimmer Misted" (yes I made that word up) the plaque in the center and embossed with Swiss Dots before attaching the lovebird.A pic of Bethany and me (I think she was very happy with the shower-which makes all of the hard work worth it!)
A photo of Bethany opening gifts -she got tons of great presents (we had a beautiful sunny day-about 72 degrees, and a fantastic turnout). Bethany and our Mom:Bethany and my oldest, Caitlin (they are so close, and you can really tell how much she loves her Aunt Beth!): All in all, It was a gorgeous day and everything went fairly smoothly-Hopefully it will be a treasured memory for my little sis!