Tuesday, September 30, 2014

Trendy Tuesday-How It All Comes Back To Scrapbooking

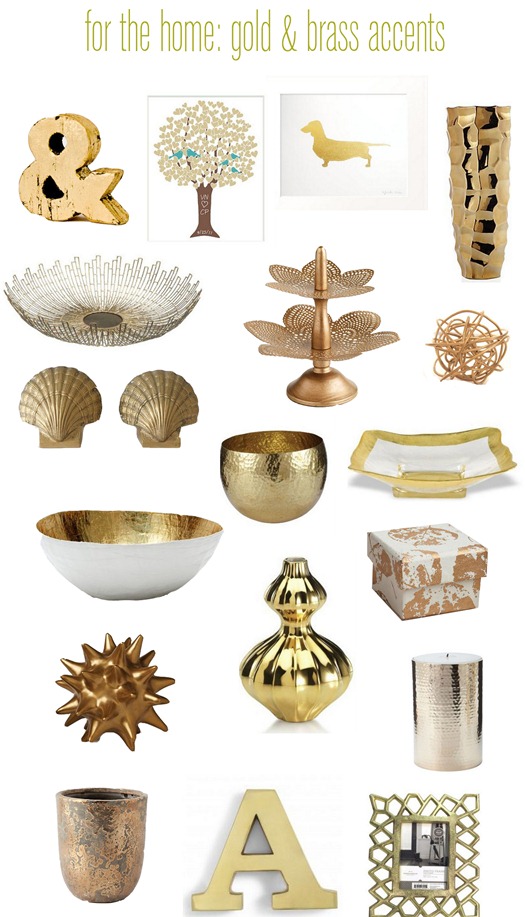
In the nearly 16 years I have been scrapbooking, I have seen trends come and go, and have started to realize that fashion is cyclical, and that the same applies to trends in scrapbooking. What's old becomes new once again...for example, gold. It has waxed and waned in popularity, but this year, we have seen a lot of it in all areas of design.

Home Decor:
(photo from For Chic's Sake)


(photo from Centsational Girl)
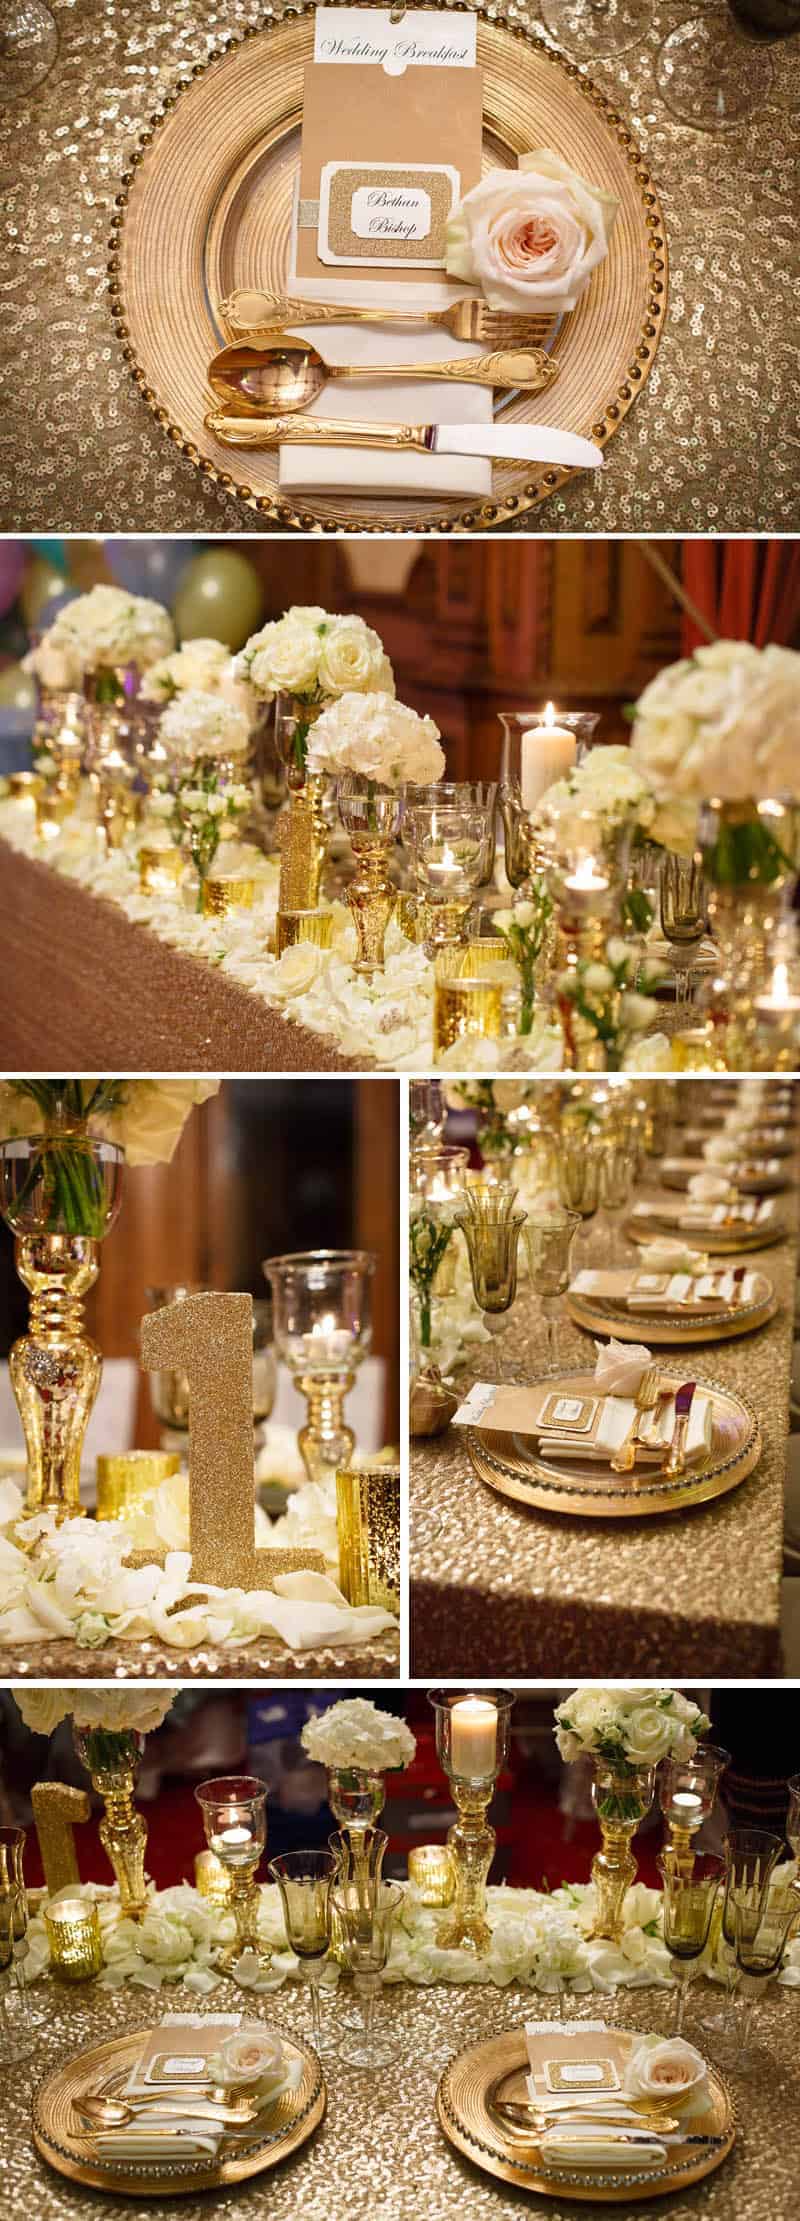
Weddings/Wedding Cakes:


(Photos from Bespoke-Bride)

(photo from Belle The Magazine )


And in fashion:

(from Style Bistro-lots of great runway photos here!)


I have seen these trends show up in the scrapbook world, as well. We have seen gorgeous golden products from Heidi Swapp:


Teresa Collins has this gorgeous Studio Gold line, partenered with We R Memory Keepers for some fabulous albums:

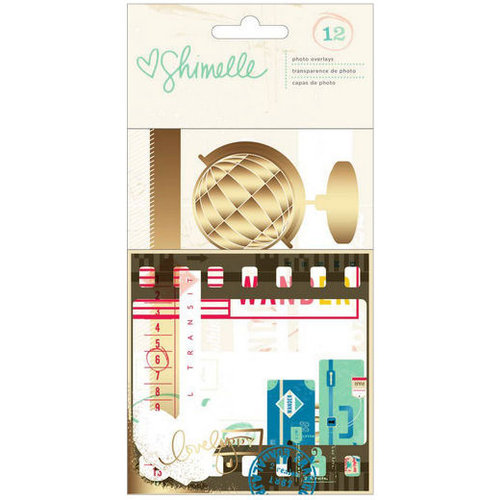
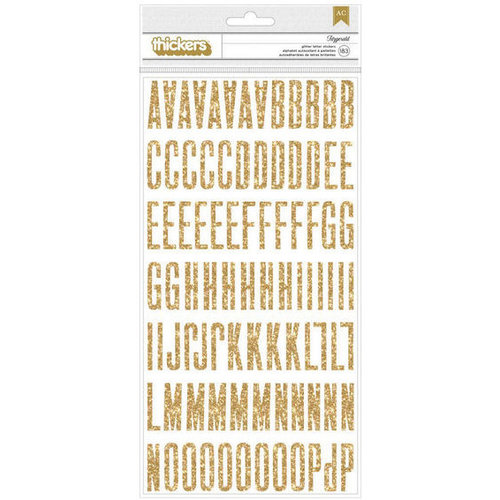
Shimelle's new line has gold touches, in the paper and Thickers:


There are really too many to name! One of my favorite scrapbooking lines this past year was the Maggie Holmes Flea Market collection, and it has lots of lovely golden touches in it.


Including this beautiful piece of gold doily vellum:


Here are a few of the pages I have made incorporating gold in the past year:


You will see, if you look closely, that I have incorporated gold into all of these pages, although mostly in small doses, such as mist or 1-3 accents. It can be overwhelming if you overdo it! I love to mix it with creams and corals especially, and I find myself drawn to it at the end of the summer/beginning of fall, especially. I feel it complements and ties into fall decor beautifully, with the rich rusts, burgundys, oranges, and deep plums. What do you think? Do you like the gold trend? Or are you over gold?

Wednesday, September 24, 2014

Counterfeit Kit Challenge Member Blog Hop

It's that time of the month again-time for the blog members to show off what they have been creating with their kits and/or our challenges. 
Here's a look at my kit again:

We had three challenges on the Counterfeit Kit Challenge blog this month, 

Challenge #1:  Own Challenge: Your turn to challenge the counterfeiters.
Challenge #2:  Selfie Challenge: Scrap a selfie.
Challenge #3:  Mixed Media Embellishment: Get messy and inky with some home-made embellies.


Since I did a sample of Mixed Media Embellishments for the blog already, I decided to go with Challenge #1 and make my own challenge. And then my brain blocked up and I could not figure out what I wanted to do for it! Finally, I was looking around my scrap room, and my eyes landed on my "inspiration dish".


 A class I took a while ago, I believe it was one of Shimelle's, urged us to write creative prompts/tools/items on strips of paper and put them in a jar or dish to grab from whenever we are feeling stuck creatively. I grabbed 3, and this is what I came up with:

Tape, Badges, Mist
So, that was my challenge, and that is what I am challenging you to use as well. I was in a hurry (When are you ever not in a hurry as a mom of 4?), so I challenged myself to make the page in 30 minutes. It ended up taking me about 40-45.
I pulled my papers from my kit, along with my required items, and went to work:


 So, here is my challenge to you:

"Make a project in 45 minutes or less, using tape, badges, and mist."

Here is my completed layout:

There were lots of fun bits in my kit that I put to good use, such as all of the fun arrow shapes,the diecut glitter title, and my homemade cork embellies, and I got the story recorded, which was the most important part to me.
Close-ups:


Tips to make it work, quickly:

  • Make snap decisions. Don't agonize over every detail!
  • Try to stick with the kit. Luckily, I had badges in my kit already, just grabbed the washi tapes that matched my papers and my favorite teal Color Shine.
  • Don't dig through all of your photos! I used the first ones that I saw that would work with the papers that I chose. I had a stack of photos sitting on my desk to be filed away, and I just scrapped them instead. 
  • If you happen to prejournal your photos, that could save time too. I had already written the journaling on a Post It and stuck it to the top photo in the stack, so I knew I could tell the story quickly, without leaving anything out.
  • The biggest tip-use the first thing that will work! Don't go searching for the "perfect" paper for your photos or vice versa, just use the first thing you see that will work, and go with it! You'll end up tweaking it to your tastes anyway!

Thank you for hopping along with us today. Jemma is your next stop on the hop, be sure to check out her lovely work! 

If you get lost, here is the full list of the hop:


Friday, September 19, 2014

Friday Faves

This Layout by Ashli Oliver AKA Soaphousemama:
http://purplemailbox.blogspot.com/2014/09/fall-is-in-air.html

Oh my goodness, so many things to love about it! I want to be as artsy as her when I grow up . Love the stamping the embellishments, everything!

I have to try this pizza from Sweet Tooth, Sweet Life:
http://www.sweettoothsweetlife.com/2014/09/18/homemade-honey-whole-wheat-pizza-dough-bbq-chicken-pizza/

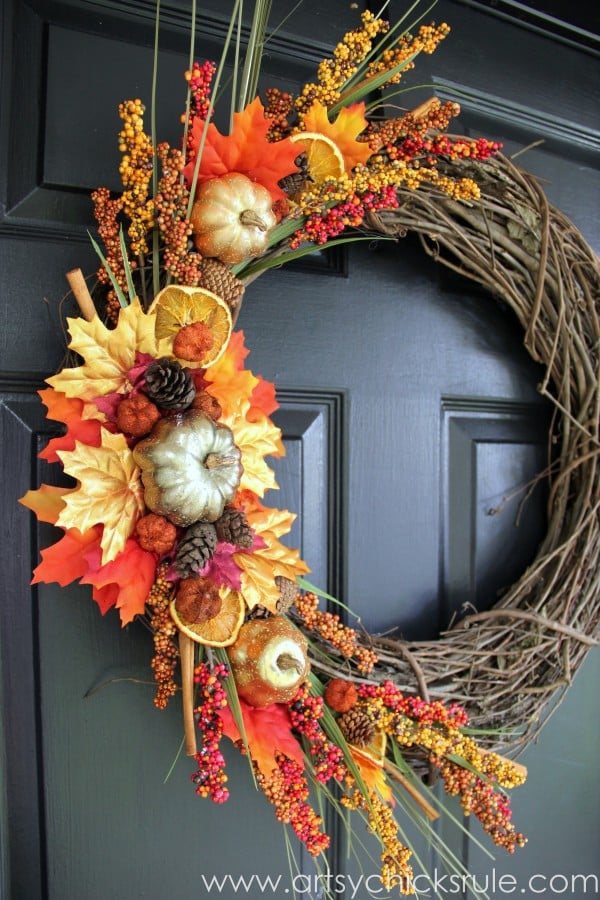
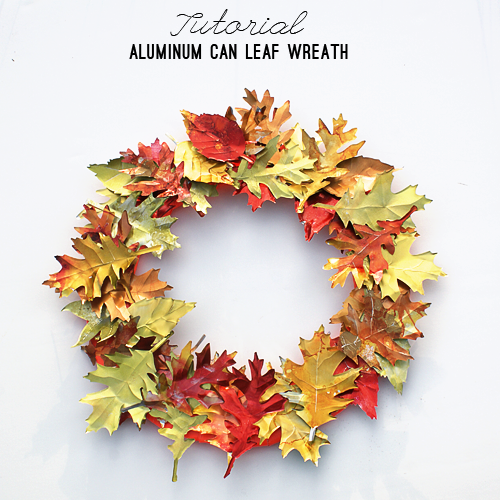
I'm looking around for fall decor, and here are some of the ones I am loving:

http://www.artsychicksrule.com/2014/09/diy-fall-wreath-fall-themed-tour.html


http://savedbylovecreations.com/2012/09/upcycled-aluminum-can-fall-wreath-diy.html

http://www.ellaclaireinspired.com/2012/08/autumn-sign-tutorial.html

And this mood board from Crate Paper's blog is just too pretty for words:

What's inspiring you this week?

Wednesday, September 17, 2014

Workspace Wednesday...Of a different sort


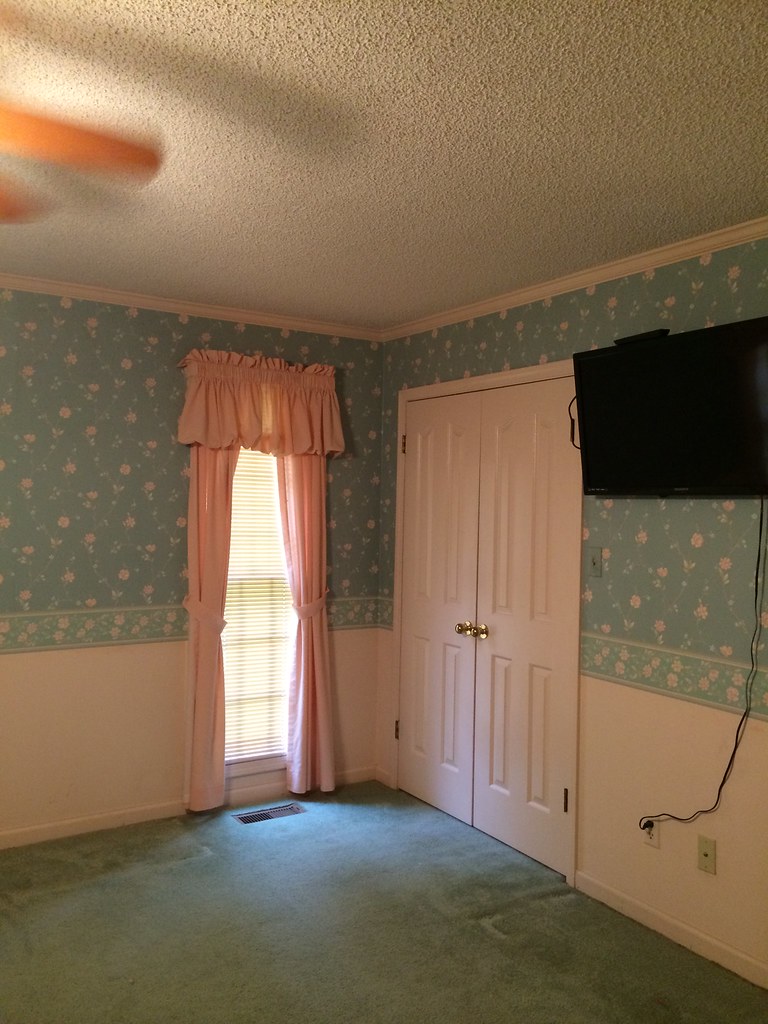
Normally I would show a glimpse of my craft room today, but since that's not where I am working right now, I will give you a peek at some iphone photos of what I am working on- my master bedroom. Note the peachy pink walls, trim, and doors. Brass everything, circa 1985. And the best part- the mint green carpet! Awesome, right? I meant, mint green is a pretty color, but...for carpet? Maybe not. We started a couple of weeks ago removing wall paper. Unfortunately, it was good wallpaper (20 years ago). Therefore, it was super thick (the steamer didn't loosen it), and it was pasted on. With A LOT of wallpaper paste. We spent a week peeling off wallpaper in teeny tiny strips and chunks. Along with chunks of the paper covering the drywall...what a nightmare! We also scraped popcorn off of the ceiling, which is easy, but super messy! You spray the popcorn down with water ( we picked up a new chemical sprayer at Wal Mart so we didn't have to keep squeezing a trigger bottle, we have a pretty large room), make sure it is well saturated, let it set for a few minutes, then used a wide scraper to scrape it off the ceiling.
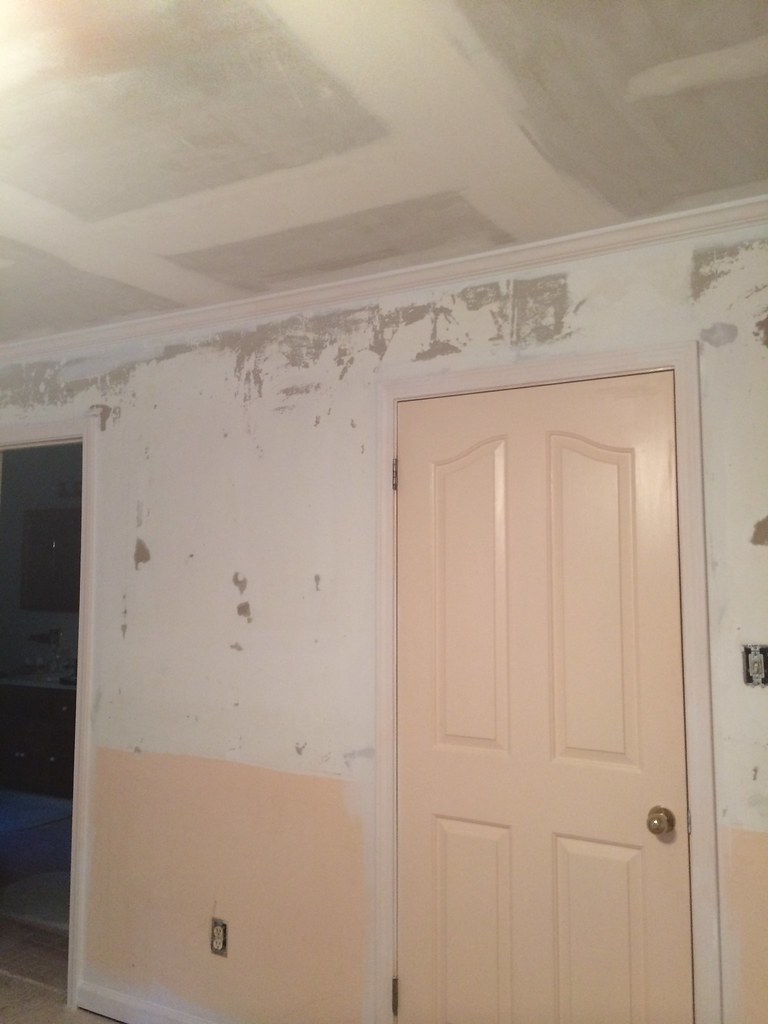
So our room looked like this:
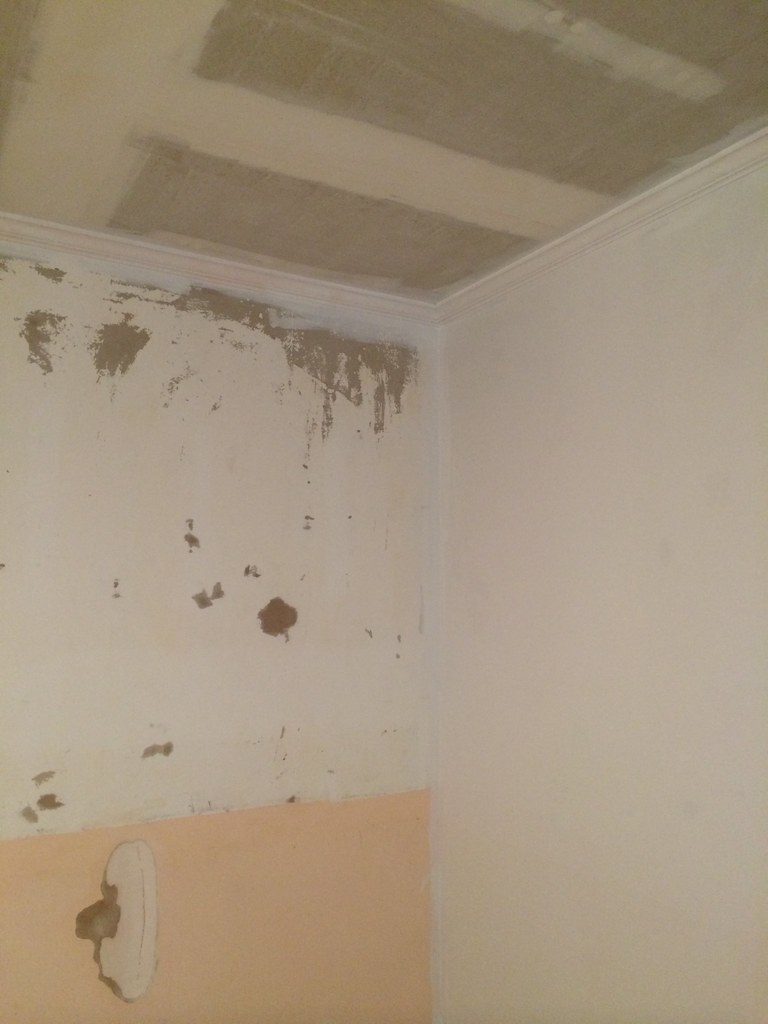
Untitled


 You see all of those spots where the paper came off the drywall? Yeah, they have to be patched. And sanded. And patched some more...AGGGHHH. The prep process is my least favorite but the most necessary part. So. We spent one day spraying the wall down with water, and scraping off GOBS of wallpaper paste (you can't see it in these photos, but it is definitely there!) It took my husband and I working together most of a day to scrape it all off. Then we thought we would see if we could just prime without patching the bare spots. Nope. So we wasted a day priming. Well, I guess the day wasn't entirely wasted, because we did prime the ceiling, which needed it, too. But we could tell that the bare spots were going to show through the wall paint and stick out like a sore thumb. And we discovered that the cheap paint wasn't going to cut it. So, I spent the next 3+ days filling the gashes gouges and tears with this stuff:


And waiting for it to dry, sanding, and finally priming again. 
Trust me, I was so over this project by this point!! But, I was finally ready to start painting! So, I went and got some Olympic One flat finish (a flat finish will hide more imperfections than any kind of paint with a sheen, like satin, eggshell, etc). The color I chose was called Royal Palm:
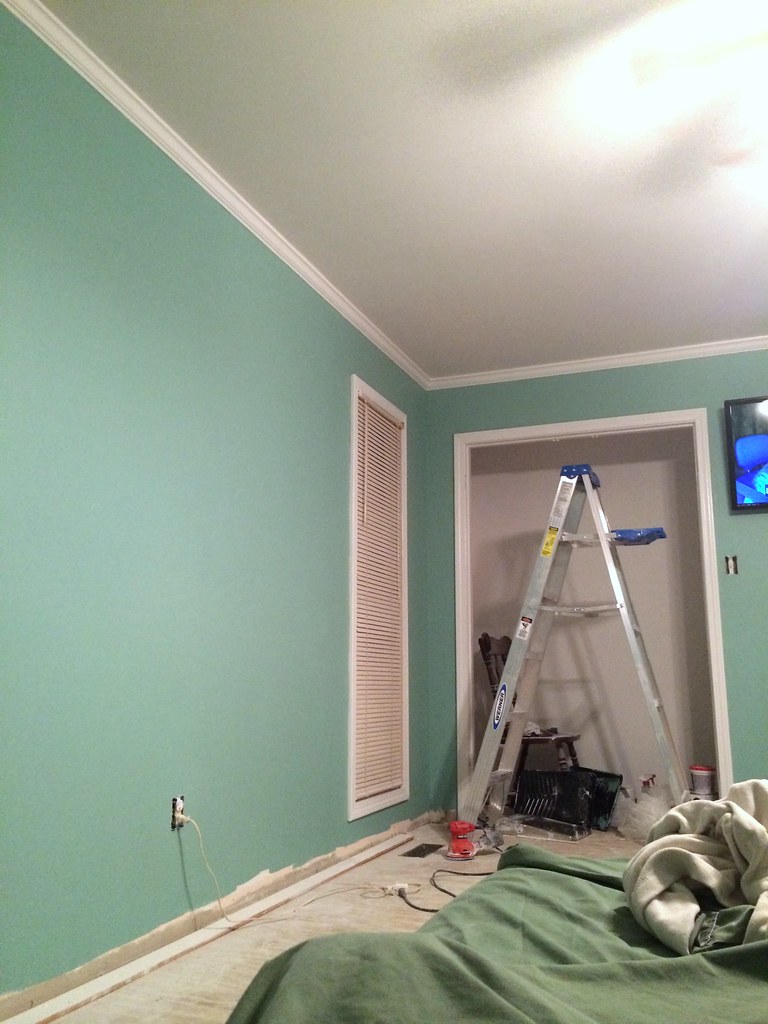
Untitled
And this is very close to what my bedroom looks like right now. A construction zone, with mattresses on the floor. I'm hoping that my hubby will get enough time off this weekend for us to put in the floor, as that is something I am not quite prepared to tackle on my own. Fingers crossed! I am so ready to be done with this room! Today, I will be putting a second coat of white (Olympic One Silver Feather, to be exact-the trim color I am putting throughout the whole house) on the doors, and hopefully the hubs will be able to come home and change out the ceiling fan for a new, more modern and updated one, and replace the electrical outlets (they're all outdated, painted over in peach paint to match the old walls, and loose, cords just fall out of them). Luckily he has worked in construction, and is very handy and able to do all of this pretty quickly. He'll replace all of the old outlets and switches with new white ones, and it will look so much better!  Tomorrow, maybe the new plantation blinds can go up. So, there you go. That's what I'm working on. What about you? Do you have any renovation nightmares to share? Or are you getting crafty and doing fun projects for fall or your scrapbooks? If so, I'm a bit jealous, but I'd love to hear about it!

Tuesday, September 16, 2014

CKCB Challenge #3: Mixed Media Embellishments

Since I rejoined the Master Forgers' design team, I have been charged with the responsibility of inspiring our members and friends for the third challenge of each month. This month's challenge is a fun one; Make Your Own Mixed Media Embellishments.  I thought that the embellishment size was the perfect way to "stick my toe in the water" of messy mixed media fun, and try out a few of the ideas that have been floating around in my head for a while. I knew I had a sheet of rather plain burlap embellishments from Little Yellow Bicycle, so I pulled those out and set to work.

I gessoed a scrap of off white smooth cardstock.
I swirled it with my foam brush and it rather reminded me of frosting....mmm, frosting...my favorite is the seven minute whipped frosting, it tastes like the best marshmallow topping...anyway, where was I? Oh, yeah...mixed media embellishments ;-) 

I have been thinking about and picturing watercolor butterflies everywhere, so that was my main idea here. I stamped the Jillibean Soup stamps with Staz-On:
 And painted them with my Prang Glitter water colors (I didn't worry about staying inside the lines since I knew I would be cutting the butterflies out):

 While I was waiting for the butterflies to dry, I thought I would work on a few of the burlap shapes, so I sprayed and splattered some Color Shine on one:
 And I stamped another one, and colored the heart shape in with a glitter marker:


 When the butterflies were (almost) dry, I stapled them to one of the burlap shapes, and added some Stickles and gems to their centers.


 I am quite happy with how my little embellishments are looking, and now I am trying to decide  exactly how I want to use them on a project! I hope I inspired you to get a little messy today and make a few embellishments (or frosting, that would be good, too!). I would love to see if you do! Be sure to link up at the Counterfeit Kit Challenge blog!