Showing posts with label Saturday Scrapbook Stamping. Show all posts

Saturday, June 20, 2015

Scrapbook Stamping Saturday...Fun with Ombre ink!

I have had this fantastic new ombre ink


for a few weeks now, and I thought it would be just the right motivation to start my Saturday Scrapbook Stamping back up with!
 I also had some pretty scraps from a previous counterfeit kit, some fun border Stickers from my May add-on kit, Buttons and Bows, and this is how it all came together for me:

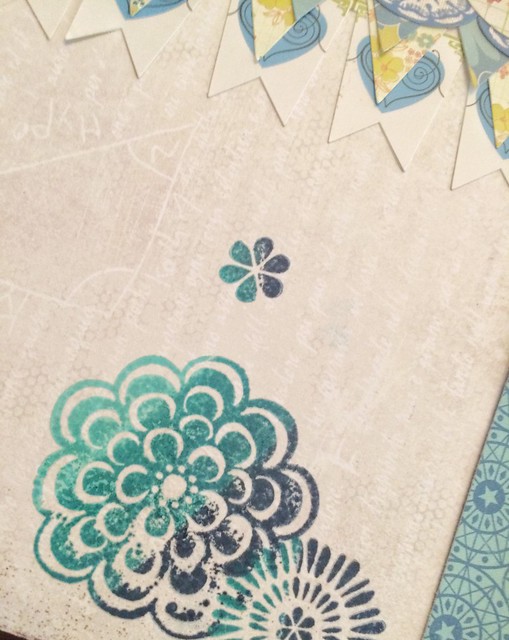
The ombre inks worked beautifully with some large flower stamps for layering, and just added the perfect touch of pizzazz to the layout. I layered several of the border stickers in the center of the page, over the join of the papers.
The stamping:

Untitled
All Layered Up:

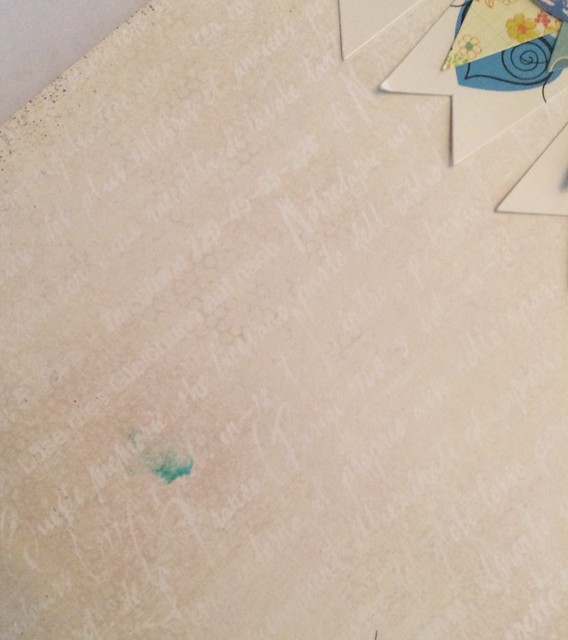
I got a little bit of ink on my finger while stamping, which I promptly smudged on my layout:


Untitled

Which is why I decided to stamp the three small butterflies on the upper left side! What do you think? Good enough for a cover up?

Saturday, April 25, 2015

Saturday Scrapbook Stamping: Inspired by Wilna/Stamping With Mist

I am still feeling very inspired by Wilna Furstenberg as I prepare for today's edition of Saturday Scrapbook Stamping. This page was inspired by a layout that she did for her Art and Design workshop at the old Big Picture classes. My page is a little different from Wilna's, but I did want to share what inspired me to get started and go in this direction. I am also using some of the cut files that she included in the class downloads (the die cut title and light bulbs).

This will be an adventure, as I have never stamped with mist before. Won't you come and learn with me?

I started by spraying mist from my April kit into a styro plate:
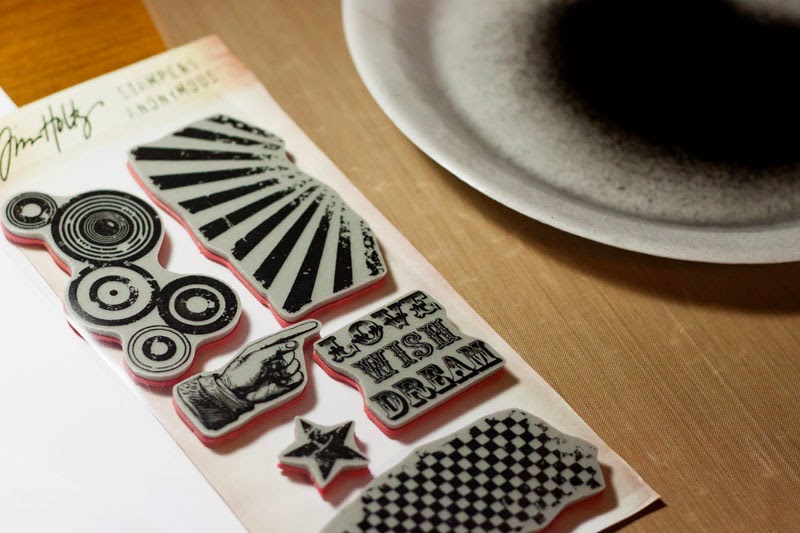
 I then selected some stamps-Tim's stamp set should give just the grungy look I want:


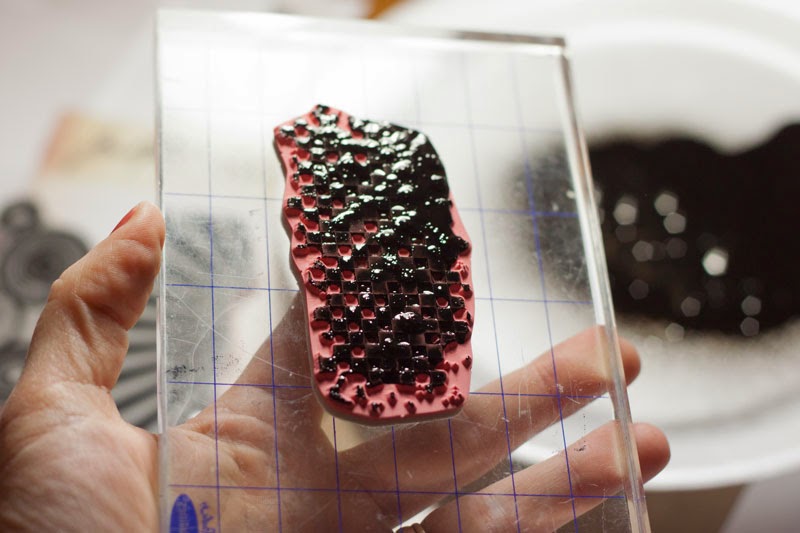
And inked it up. As you can see, the mist pooled quite heavily in some areas:

So I stamped a few times before inking again, and repeated across the center of the page:

I liked the look at this point, but felt like it needed a bit more. So, I dripped the remainder of the mist onto the page:

And this is how it looked when I was finished:

I still wanted a bit more variation, so I gave it a quick shot of mist from about 12 inches above for a fine mist, and then took the nozzle out of the bottle to make few more small drips and splatters with the straw:
 *WARNING! Spraying from high above it did cause the mist to over spray my craft mat a little bit!

I liked it at this point, so I let it dry while I did my die cutting, and then mounted it to a sheet of black and white cardstock from my kit:

Now I decided to have a bit of a play with my homemade texture paste:

I wanted it to be yellow, so I dumped some homemade yellow mist (I thought I dumped too much, but it turned out about right):

I mixed it up and added a spritz of Gold Lame as well:

Then I put the light bulbs on the page where I wanted them to be:

And picked them up one cluster at a time, and added a thick layer of the colored paste:

And then set the cut files on top of the paste. After they dried a bit, I pressed them down into the paste a little bit more:

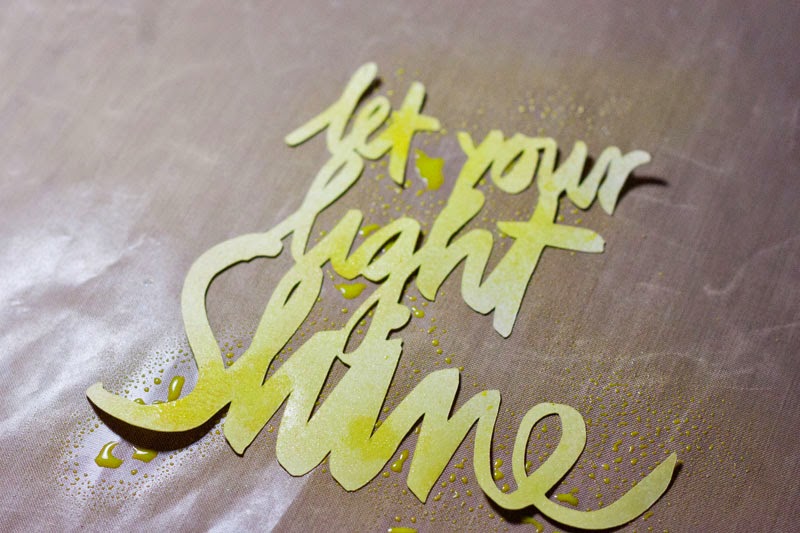
I die cut the title out of a light yellow cardstock scrap, but it was too light, so I decided to mist it with my homemade mist:

There, I like it better already!

I added my photo (after rounding the corners and doing an offset mat on two PL cards from my kit), some scraps, some of the yellow vellum hearts, and some of the black sequins, and a few dabs of Paper Glaze where the light bulbs hadn't adhered completely, adhered the title, and came up with a fun, artsy page, very much inspired by Wilna, that used quite a few bits from my kit, and stamping in a different sort of way!


I hope I inspired you to break out your stamps today!

Saturday, April 18, 2015

Scrapbook Stamping Saturday...Background Stamping in a Line

I'm back for another edition of Scrapbook Stamping! Today, I am focusing on adding stamps to my background to add texture to my page. Specifically, stamping in a line on the background of my page.
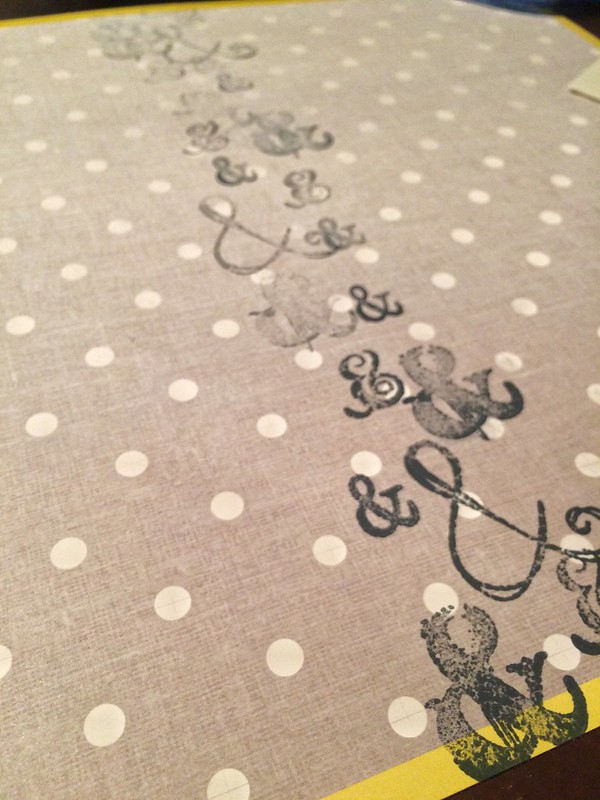
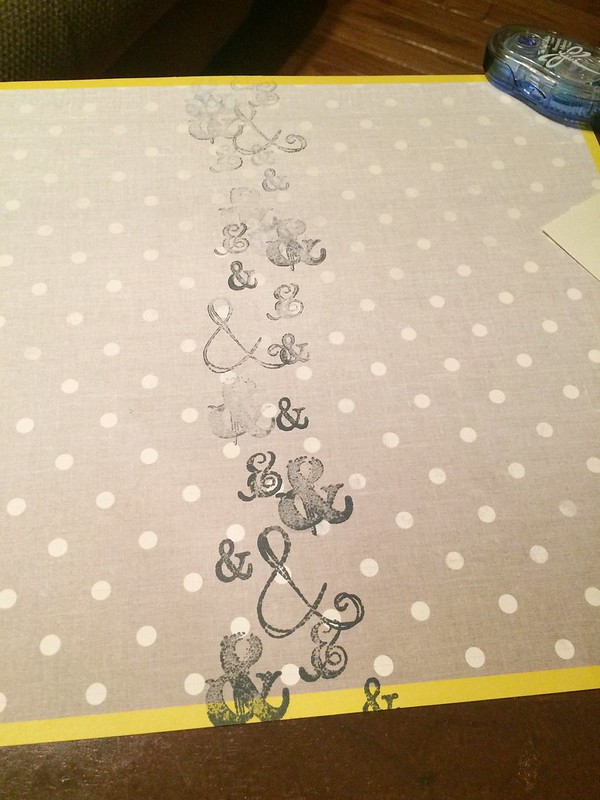
I started with one of the simpler patterns from my April kit and used all of the ampersand stamps from my kit to stamp a pattern in a line:

Untitled

Untitled

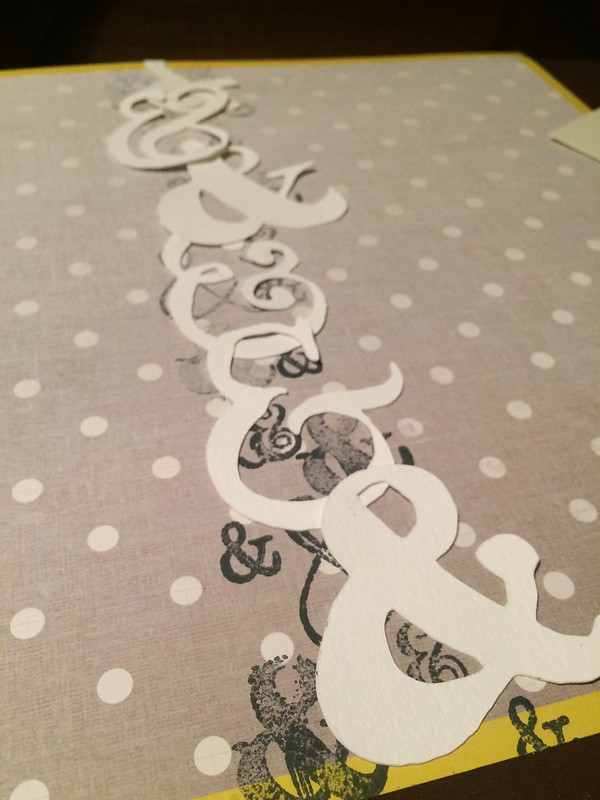
And then I took most of the diecut ampersands from the kit (all were cut files from Wilna's Art and Design class) and layered them on top of the row of stamping:

Untitled

And added lines of ribbons and washi for my page

And here is my completed (STAMPED!) page:

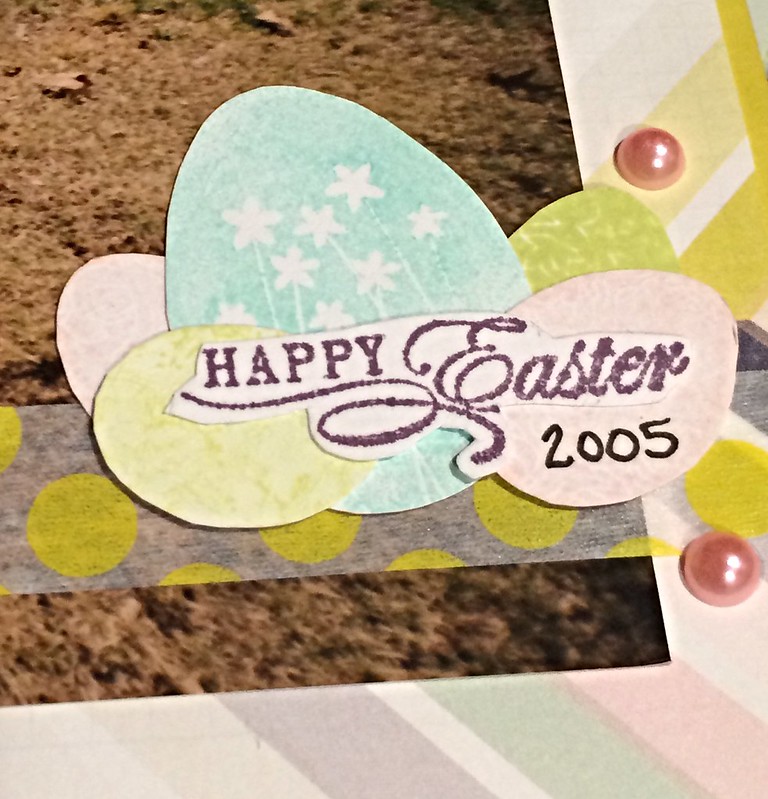
 And I have to say, it makes me feel really good to use my stamps on my pages. I am using them instead of just collecting them!  The Easter Eggs and "Happy Easter" were also stamped, using some Studio G Easter stamps:

Untitled

Thanks for stopping by, I will be back on the 20th with a special post for the Counterfeit Kit Challenge blog. You don't want to miss it!

Saturday, April 11, 2015

Saturday Scrapbook Stamping: Adding Stamping in Through Layering

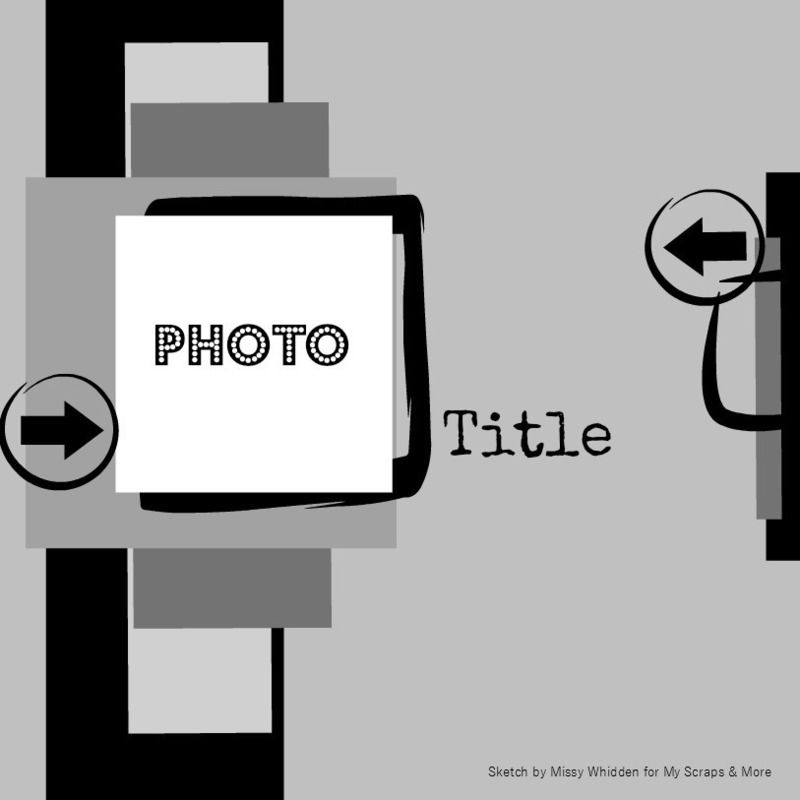
Welcome back for another edition of Saturday Scrapbook Stamping. Last week I took the week off for my "Forgeries on the Fourth" post, but I am back to stamping on my scrapbook pages today. One of my favorite ways to use stamps on a scrapbook page is to use them as a layering piece. For this page, I am using my April Fantastic & Fabulous kit, and the background sheet that I made with my homemade texture paste last week. I started with a sketch from My Scraps and More (they are having a fun sketch-a-thon this month!):

There was an additional challenge to "add mist, paint, spray, or ink to your page". So, it was perfect for stamping and using my page with the homemade texture paste! I started my page by layering some strips of paper on the background. I chose a stamp from my kit that was versatile, funky enough for my bright paper choices, but a simple enough shape to use a couple of times. I pulled out my much loved black Staz-On, and stamped right over the paper strips:

 I stamped on opposing sides of the page, using the stamp in place of the circle element of the page:
And then, just started adding in other decorative bits like washi tape and a journaling card in place of the frame:
I finished it all off with a sprinkling of other small embellishments from my kit, like the vellum punched hearts, Sparklers in the center of the stamped flowers to help them stand out, and a tiny bit of sequins and bling in my clusters:


So, there you have it. I think the bright colors and scribbly stamped flowers suit my child of the eighties layout very well! Be sure to come back next week for more Scrapbook Stamping on Saturday!

Saturday, March 28, 2015

Saturday Scrapbook Stamping: Using Stamps To Enhance your Backgrounds

I  am back, as promised, to share what I am doing with my stamp-inspired kit. I have decided to use the stamp set included in the kit in several ways to enhance my layout. The first way I am using my stamps is to create butterfly embellishments by stamping the butterfly stamp in several various colors.
Adirondack Sunset Orange:
After I would stamp a few, I would use my trusty favorite (baby wipes) for stamping to clean my stamp before moving on to the next color:
I stamped in several colors, but my favorite was one of my oldest ink pads, VersaColor Raspberry (at least 13 years old and still super juicy!):
After I stamped several butterflies in several colors, I fussy cut them, and moved on to my background paper. The plan was to enhance the paper and create movement across the page with Walnut Stain Distress ink:
I started in the adjacent corners, making sure to stamp over the edge:

Next, I wanted to enhance the stamping with some splatters of Mr. Huey's:


I let it dry, and then it was just a matter of putting it all together:

I also added pearls to enhance the stamped flow across the page:

I love the feeling of texture and movement, and it was great fun using my stamps and inks on a scrapbook page!

Saturday, March 21, 2015

Scrapbook Saturday: Focus on Stamping

For this past week, I have been think a lot about what I am trying to do with this blog. I first started this blog back in December of 2008 as a way to share bits and pieces of my life, photos, recipes, and all of my crafty endeavors. I have truly enjoyed doing that, and have worked very hard at improving in all of those areas, so it is so much fun for me to go back and see some of my earliest posts. Lately, I have been searching for a way to refresh things here, and keep improving. I have had an idea here or there, but nothing that really stuck with me. Well, last night I was in my craft room labeling my inks (so funny that this is what I chose to do on a Friday night, I must be getting old ).

  Anyway, as I was labeling them, it struck me that I have quite a few inks that had never been even opened, much less used. And I have four binders of clear stamps, plus a fair amount of rubber stamps.


 And while I love the beautiful designs and the gorgeous colors, I haven't done very well at actually using those collections of stamps. It got me to thinking. What could I do to motivate myself to use all of those lovely stamps and inks that are collecting dust on my shelves? I make cards from time to time, but scrapbooking is my first love, so I would really prefer to find ways to use my stamps on my pages. And then I had my "lightbulb moment". I know that I can use stamps on my layouts, I just need the motivation to remember to use them, and a blog series might do just that! So, my intention is this: A scrapbook segment on my blog exploring my stamps and different ways or techniques of using them. And Saturdays seem like a good time to share it, if for no other reason than that I love the alliteration of "Scrapbook Stamping Saturdays"! So, I made a plan, and I wrote it down, and today is the first one. I have other plans for this blog as well, but for today, we will focus on the stamping.

I found this fun inspiration of making a stamp inspired kit, and, since making up kits to scrap with out of my stash is almost as much fun to me as making actual scrapbook pages, I knew I should definitely try it out to give me a jump start on this blog series. This is the stamp set that I used to inspire my kit:

I love butterflies and this stamp set took me in a rather "Valentine's" direction, as it instantly brought to mind Tim Holtz's Kraft resist, which lead me to think of browns, pinks, and creams. Here are the papers that I chose to coordinate with the stamps:

And here is the kit in its entirety:
I can't wait to play with it this week! It will make some very pretty pages, I think! And I can't wait to explore the joys of stamping on my scrapbook pages with you all. Next week, I will share what I make with this kit, and how I used the stamp set. Be sure to come back for more Saturday Scrapbook Stamping!