Today I am sharing a page based on prompt 6 from the Design Decisions class, plus the new challenge from the Counterfeit Kit Challenge; "It takes Two". For the "Two" element, I am using 2 photos from my Washington D.C.trip:
The main two patterned papers are from my November Counterfeit Kit Challenge kit:
And the embellishments (star sticker strip, chipboard stars) and navy cardstock are from my January kit:
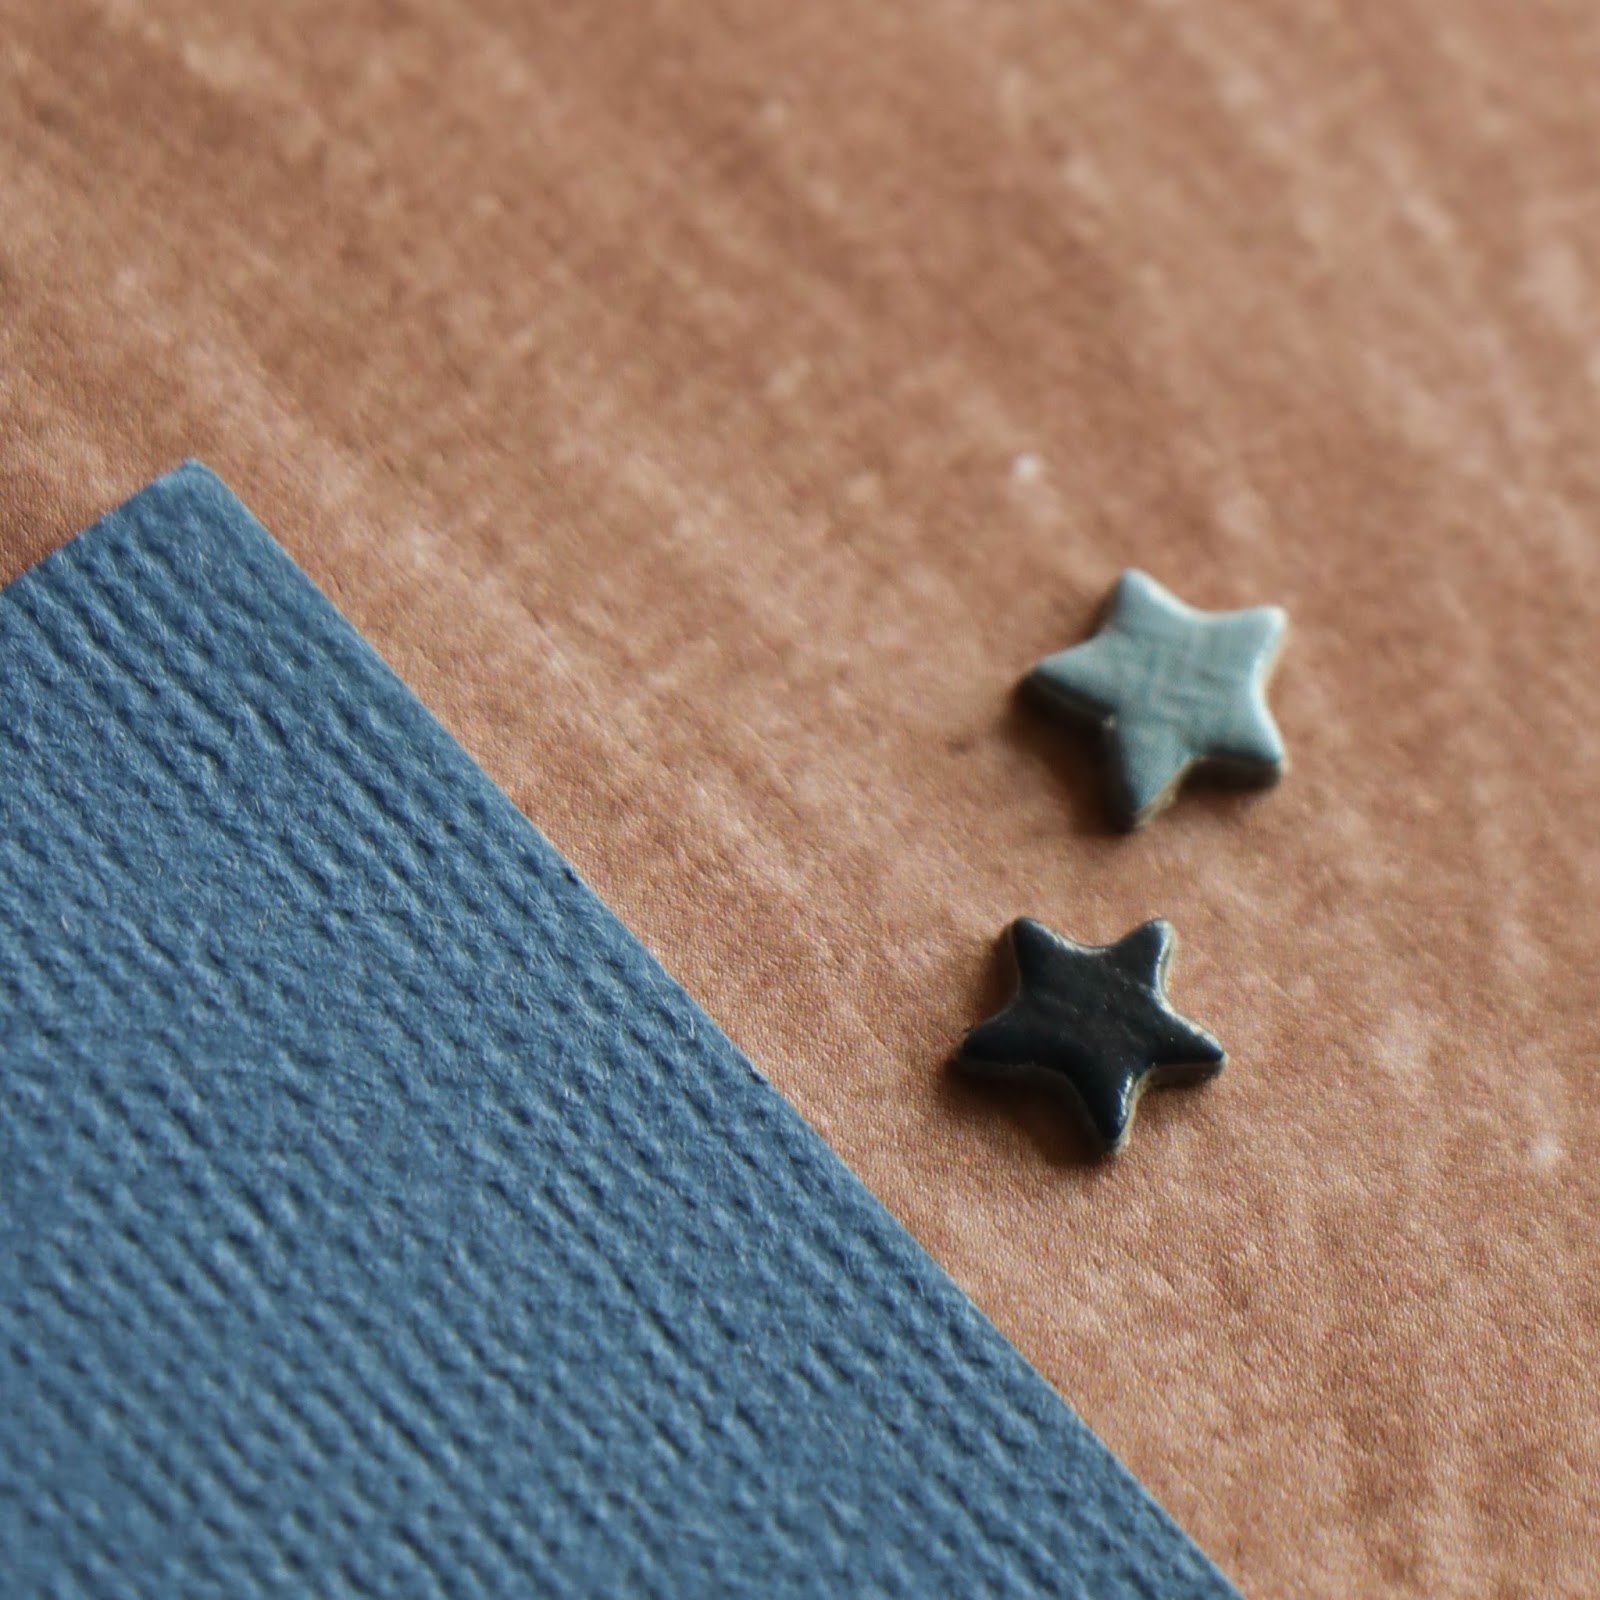
Here's a closer look at the embellishments; I added a few bits from the leftover sticker sheets that I am trying to use up, as well:
For some reason, these tiny chipboard stars just make me so happy!
Thanks for dropping by today! I will be back with more of my "homework" soon! P.S. pray for me, my oldest has her driver's test tomorrow...eep!
Showing posts with label Shimelle's Design Decisions. Show all posts
Saturday, February 18, 2017
Friday, February 17, 2017
Design Decisions, Prompt 4 (Another take on the same inspiration)
For this part of the Prompt, I am taking inspiration from myself. I pulled out a page that I had made a while ago (6 months or more). I looked it over, made some mental notes about what I liked about it, and then started a new page using my February Counterfeit Kit :
Here's the page I was inspired by (right), and the new page (left):
And here's a closer look at the new layout:
Thanks for dropping by-I'm loving sharing my class work with you! I will have new post up in the morning with another layout that was inspired by this class and the Counterfeit Kit challenge blog.
Here's the page I was inspired by (right), and the new page (left):
And here's a closer look at the new layout:
Thanks for dropping by-I'm loving sharing my class work with you! I will have new post up in the morning with another layout that was inspired by this class and the Counterfeit Kit challenge blog.
Friday, February 10, 2017
Design Decisions, Prompt 4
Moving right along with my class work, here is one take on prompt #4:
I used my November CKCB kit:
This design was perfect for using up the off cuts and bits of scraps that were leftover in this kit, and I tucked in a few flower die cuts, chipboard, and fussy cut frames:
Thanks for dropping by today, the next time, I will have a completely different take on prompt 4 for you!
I used my November CKCB kit:
This design was perfect for using up the off cuts and bits of scraps that were leftover in this kit, and I tucked in a few flower die cuts, chipboard, and fussy cut frames:
Thanks for dropping by today, the next time, I will have a completely different take on prompt 4 for you!
Tuesday, February 7, 2017
Getting back to "class"; Design Decisions, prompt 3
For my homework today, I chose to use a grid design, and my Counterfeit kit from November:
For embellishments and the title, I used bits and pieces from various leftover sticker and chipboard sheets:
I scrapped photos of the beautiful detail work of Union Station. These photos didn't really have a longer story, I just thought that they were pretty, so it was perfect to use them for this design, since the grid was able to take the place of a long journaling card. This is one of my favorite pages inspired by the class, so far!
Monday, January 30, 2017
Design Decisions, Prompt Two (Comparing two different takes on a prompt)
I am still steadily working on the Design Decisions class. Today's pages are both based on the second prompt, but still very different from one another. The first page, "Icy Beauty", utilized my January kit. Some decisions that I made for this page: cardstock background (which I chose beacause the patterned paper was thinner than some of my patterned papers, so I wanted it to have a bit of sturdiness. I used snowflake enamels for the embellishments, and chose to ground the photo on a doily that I had misted with some of the glimmer mist from the kit. I added droplets of mist, and even brought in another bottle of mist (violet Color Shine), for more noticeable droplets.
For the second page, I chose to use mostly supplies from a Disney kit that I have made up for myself, filled with Simple Stories Say Cheese and similar/coordinating products.I did use a doily veneer and a few stars from my January kit, as well. I made different design decisions for this page, such as, a patterned background, stars and pinked circles for embellishment, and grounded the single photo on top of a Mickey ear hat diecut. I do love how both layouts are from the same prompt, but quite different, based on the design decisions that I made.
Thanks for dropping by today, I would love to have you come by again soon, as I plan to keep creating and sharing!
For the second page, I chose to use mostly supplies from a Disney kit that I have made up for myself, filled with Simple Stories Say Cheese and similar/coordinating products.I did use a doily veneer and a few stars from my January kit, as well. I made different design decisions for this page, such as, a patterned background, stars and pinked circles for embellishment, and grounded the single photo on top of a Mickey ear hat diecut. I do love how both layouts are from the same prompt, but quite different, based on the design decisions that I made.
Thanks for dropping by today, I would love to have you come by again soon, as I plan to keep creating and sharing!
Tuesday, January 24, 2017
Getting Started With Design Decisions (Prompt 1)
Good Morning! I am back, and kicking off my new series with my first page from Design Decisions. I made my first page for my Disney album from my most recent trip, about one of my favorite rides, Haunted Mansion, and used papers and stamps from my November Counterfeit kit:
And here is my layout:
I printed the song from the ride using the Project Life app (love it when I want to print my journaling- opening a word processing program on my desktop to journal while I am making a page just doesn't work with my process, but this couldn't be easier for me!). I stamped the word Haunted, the skull/book/candelabra image, and the photo corners on white cardstock, then inked them with Old Paper Distress Ink, added lots of little scraps, washi strips, gemstone stars, flair, punched Mickey, fussy cut frames, and one more stamped sentiment (it's in white and a bit hard to see in the photo, but it's in the cluster by the title).
Here's a closer look at the clusters:
And here is my layout:
I printed the song from the ride using the Project Life app (love it when I want to print my journaling- opening a word processing program on my desktop to journal while I am making a page just doesn't work with my process, but this couldn't be easier for me!). I stamped the word Haunted, the skull/book/candelabra image, and the photo corners on white cardstock, then inked them with Old Paper Distress Ink, added lots of little scraps, washi strips, gemstone stars, flair, punched Mickey, fussy cut frames, and one more stamped sentiment (it's in white and a bit hard to see in the photo, but it's in the cluster by the title).
Here's a closer look at the clusters:
If you are just now joining me, I am challenging myself to use up my stash of kits over the next month or two-you can read the details on my blog post HERE. Thanks for joining me today, I will be back soon to share another page inspired by the class!
Subscribe to:
Posts (Atom)