Since my family is going on vacation soon, I thought it would be nice to have a mini album/journal for us to record our memories as we go. This is what I came up with.
The whole album is made up of the plain sheets of Tim Holtz Grungeboard. I punched 3 holes in the end with my Crop-A-Dile Big Bite, and put on book rings ( easy to take off and put on as I finished them).

For the cover, I inked the Grungeboard with "Tumbled Glass" Distress Ink pad, then misted it with Turquoise , Riptide, Sea Glass, and Sand Glimmer Mists. I colored this lovely sketch from Lindsay's Stamp Stuff
 Seaside Sketches digistamp set
 with colored pencils, glued it to the cover of my mini, then surrounded the scene with tiny glass beads in various blues and golds, to mimic sand and water. The letters for the word "Travel" are from Making Memories Passport collection but they were flat stickers, so I attached them to a scrap of Grungeboard, and trimmed the excess.I added a Prima flower and a strand of golden brown beads. I decorated the book rings with various blue and white ribbons, tulle, and twill, and added a Grungeboard "key", that I embossed with gold embossing powder (looks real. huh? ;-) ).

For this part, I attached papers from the Making Memories Passport collection to the Grungeboard, and misted with turquoise, sand, and sea glass Glimmer Mists (very lightly). for the right side, I added a journaling sticker from the Passport collection.

For the center, I added a little journaling card from Crafty Secrets, and an envelope for memorabilia that I cut from Kraft paper using
 Lindsay's Stamp Stuff's Envelope Bonanza svg set
.

The right side is also misted with Glimmer Mist, and I added an embossed golden keyhole and brads, and inked the edges with Sapphire Distress Ink.

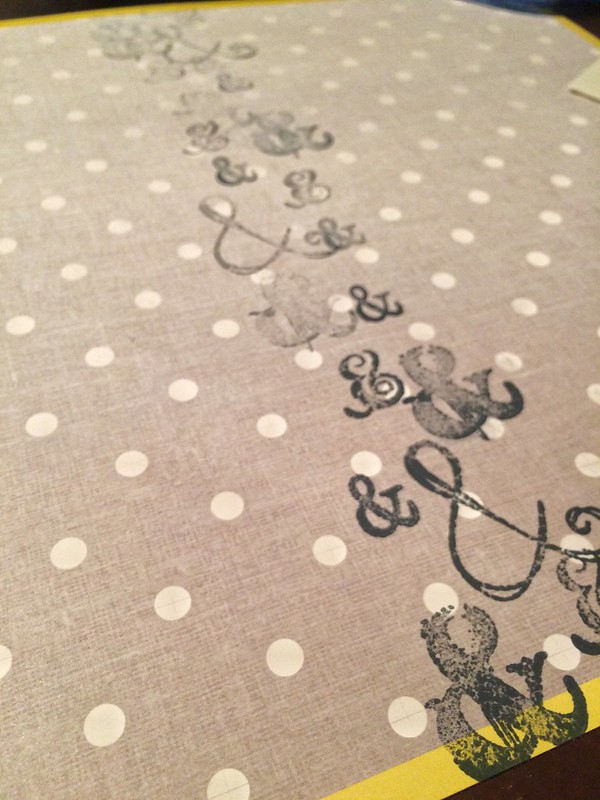
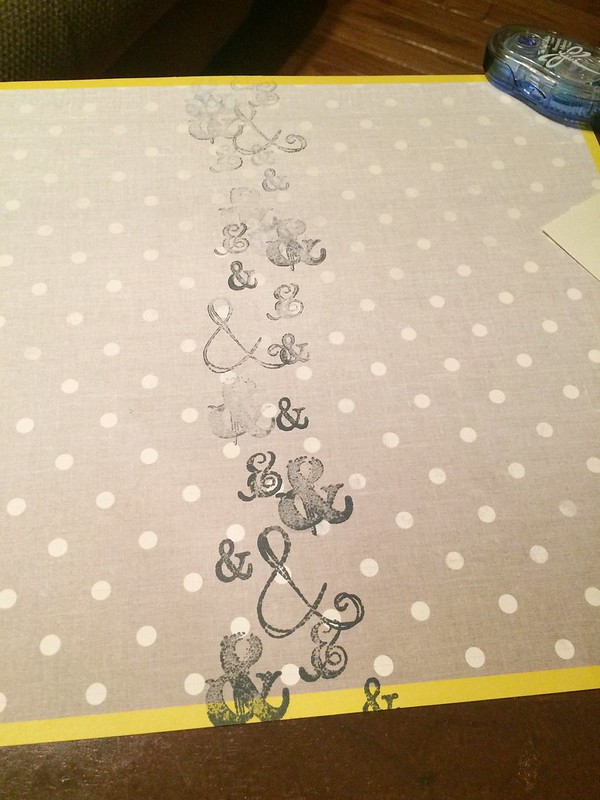
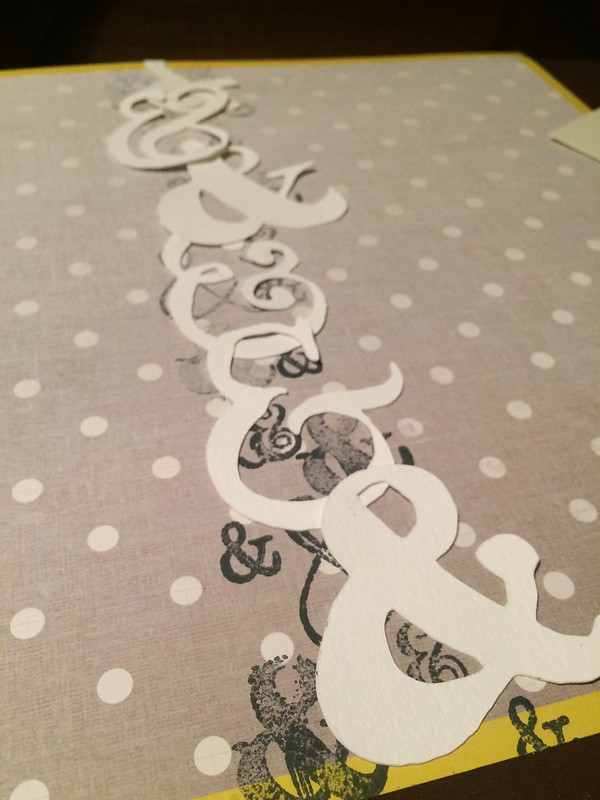
For the next pages, I used some light blue papers from the Passport collection, and stamped a border and title with some stamps from the Passport collection and Tumbled Glass Distress Ink.

For the center I used a Margarita digistamp freebie, which I printed on white cardstock, cut and embossed with my one Nestie, colored with my Copics, inked the edges with "Tumbled Glass" Distress Ink. I covered my "Blue Hawaiian" with Crystal Stickles, and my hurricane glass with Glossy Accents. For the right side, I used another Passport stamp and "Tumbled Glass" Distress Ink, and tied an "island blue" sheer ribbon for accent.

On the next pages, I used "sand" style paper from DCWV.

On the left side, it is accented with sheer ribbon and a travel journaling tag from K&Co, which I also tied a sheer ribbon onto.

I added another Crafty Secrets journaling card, and a Making Memories shaped journaling note paper.

For the right side, I simply accented it with a ZVA Creative rhinestone flourish to evoke the feeling of a water spray or splash.

On the next pages, I left the grungeboard bare, and misted with sapphire, riptide, turquoise, and sea glass Glimmer Mists, dried with my heat embossing tool, and re-misted, and dried again.

Then, I rubbed my glue pad on the edges, dipped them in gold embossing powder and heated. I added an orange hibiscus journaling tag from K&Co to the center.

The next pages are covered with some DCWV travel pages, inked the edges with Tim Holtz Walnut Stain Distress Ink.

On the right side, I added a tiny envelope from
Lindsay's Stamp Stuff Envelope Bonanza svg set, and a tiny road sign that I cut from an svg I picked up somewhere (I have no idea where or I would share the link).

Anyway, I cut it, stamped a tiny palm tree with a Studio G stamp, and inked the edges.

The next 2 pages are for the day of my sister's wedding, so I tried to make them a bit more elegant.

I attached a creamy white shimmer swirl paper to a kraft background. I finished it off with a black Doodlebug Frill.

I tied a tiny organza bag in the center to hold a small souvenir or momento.

The last 2 pages are dedicated to the drive home.


I used paper from DCWV's Mango Frost stack, and stickers/journaling spot from Making Memories Passport collection.

For the back cover, I left the Grungeboard bare, then misted with Sand Glimmer Mist, Mango, Treasured Hymn, Trufflez, Ruby, and Bed of Roses Shimmerz. To finish off the back cover, I colored another digistamp from
Lindsay's Seaside Sketches.
Challenges that I am entering this mini album into are:
Bunny Zoe's Crafts: Summer Days
By the Cute And Girly:Warm Summer Days
Clearly Delightful:Pearls, Bling, and Button Things
Crafty Calendar Challenge: Summer (with the option of using yellow)
The Crafty Pad: Use yellow and orange and some holes (I punched my own holes in the Grungeboard)
The Belli Challenge: Alter It and use up old stash ( I altered and used up a ton of Grungeboard that I have had for at least a year, along with a bunch of ribbon and other goodies)
Creative Cottage: no cards allowed
Creative Craft Challenges:Summer Lovin'
: Embossing
Stamp With Sarah Kay: anything Goes
Now, my album is ready, bring on the vacation!!
Thanks for looking, now head over to Lindsay and the rest of the DT's blogs for lots of inspiration and a freebie!!
Lindsay Weirich (Owner & Stamp Designer)Cheryl Gorka (DT Coordinator)Cindi HooksDiane BoveJennifer BlissKarin MartinLeanne GarnerLisa JurecekMargie Visnick You are here!
Melissa CraigRebekah DoakRhonda WalkerShannon NeparkoTamara BennettTracey AllenMicki HarperSometimes guestErin Bailey