Showing posts with label Tutorial. Show all posts

Saturday, April 25, 2015

Saturday Scrapbook Stamping: Inspired by Wilna/Stamping With Mist

I am still feeling very inspired by Wilna Furstenberg as I prepare for today's edition of Saturday Scrapbook Stamping. This page was inspired by a layout that she did for her Art and Design workshop at the old Big Picture classes. My page is a little different from Wilna's, but I did want to share what inspired me to get started and go in this direction. I am also using some of the cut files that she included in the class downloads (the die cut title and light bulbs).

This will be an adventure, as I have never stamped with mist before. Won't you come and learn with me?

I started by spraying mist from my April kit into a styro plate:
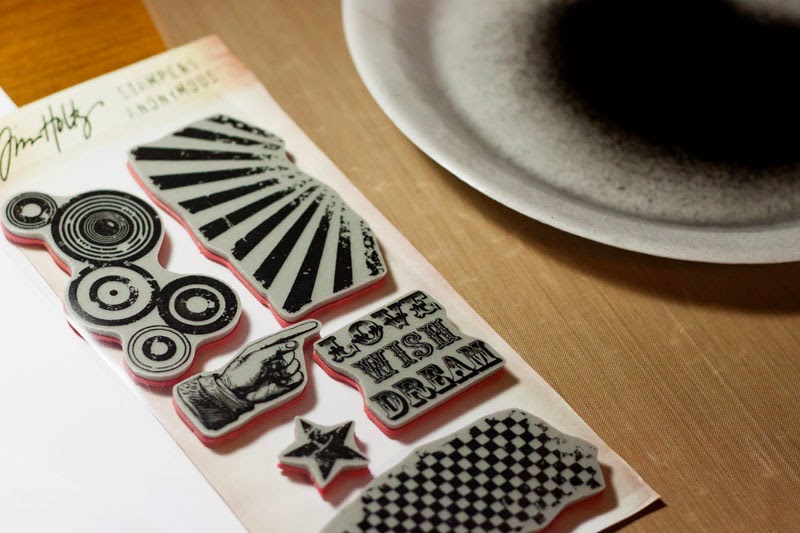
 I then selected some stamps-Tim's stamp set should give just the grungy look I want:


And inked it up. As you can see, the mist pooled quite heavily in some areas:
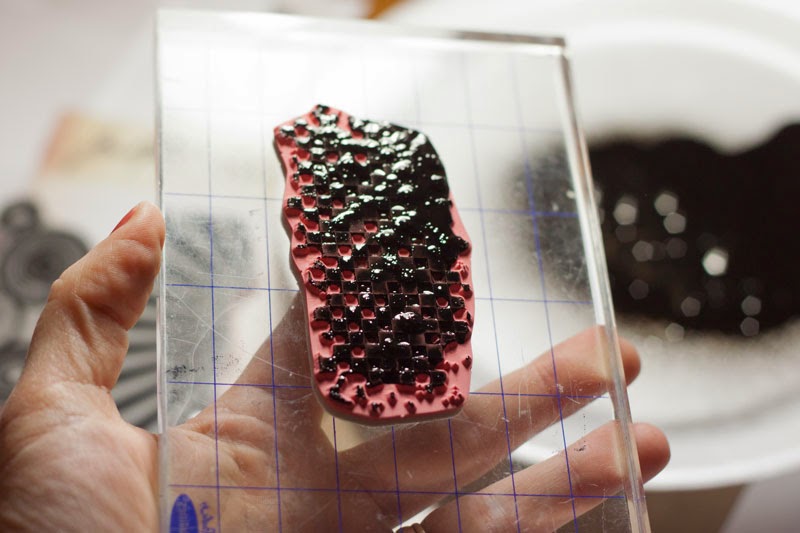
So I stamped a few times before inking again, and repeated across the center of the page:

I liked the look at this point, but felt like it needed a bit more. So, I dripped the remainder of the mist onto the page:

And this is how it looked when I was finished:

I still wanted a bit more variation, so I gave it a quick shot of mist from about 12 inches above for a fine mist, and then took the nozzle out of the bottle to make few more small drips and splatters with the straw:
 *WARNING! Spraying from high above it did cause the mist to over spray my craft mat a little bit!

I liked it at this point, so I let it dry while I did my die cutting, and then mounted it to a sheet of black and white cardstock from my kit:

Now I decided to have a bit of a play with my homemade texture paste:

I wanted it to be yellow, so I dumped some homemade yellow mist (I thought I dumped too much, but it turned out about right):

I mixed it up and added a spritz of Gold Lame as well:

Then I put the light bulbs on the page where I wanted them to be:

And picked them up one cluster at a time, and added a thick layer of the colored paste:

And then set the cut files on top of the paste. After they dried a bit, I pressed them down into the paste a little bit more:

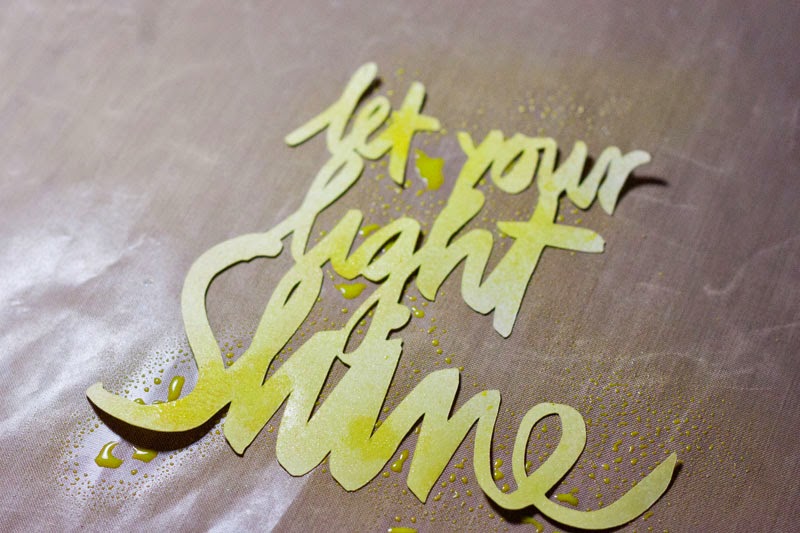
I die cut the title out of a light yellow cardstock scrap, but it was too light, so I decided to mist it with my homemade mist:

There, I like it better already!
I added my photo (after rounding the corners and doing an offset mat on two PL cards from my kit), some scraps, some of the yellow vellum hearts, and some of the black sequins, and a few dabs of Paper Glaze where the light bulbs hadn't adhered completely, adhered the title, and came up with a fun, artsy page, very much inspired by Wilna, that used quite a few bits from my kit, and stamping in a different sort of way!


I hope I inspired you to break out your stamps today!

Wednesday, March 4, 2015

Forgeries on the Fourth: Crafting My Own Bits and Pieces

When I look at the monthly Counterfeit Kit Challenge kits, I usually try to substitute something from my stash, but, from time to time a certain piece or two from a kit will catch my eye, and I know that I can usually alter something or make something from my own stash that will be very similar.
First item on this month's agenda, this paper from My Mind's Eye Jubilee Tangerine:


I didn't have it, but I knew I could make a lovely stamped woodgrain paper! I chose a rich woodgrain paper from Cosmo Cricket. I only had one hot air balloon stamp that I could find, in a mixed set from Hero Arts. I hadn't used it yet, so it seemed like the perfect time to break it out.


I used a couple of different sentiment stamps,


Which I cut apart and rearranged to fit the space. I stamped the images with white ink, then heat embossed. Ireally wasn't happy with the messiness of my embossing (I got in a hurry and didn't brush off the excess, so it had white speckles around the image). I just decided to embrace the messiness and add more!
I spritzed it with gold lame Color Shine across the page on the diagonal, and then dripped Mr Huey's (dark gray) and watered down white acrylic paint, then splattered the white paint some more by flicking my paint brush.

This is what it looks like all dried up:
(It says: "The best memories inspire the soul")

I also was quite enamored with the Doodlebug Doilies that were in the inspiration kit:


But, again, I knew I could make something similar from my stash. It's the reason we buy die cutting machines and tools, right?

I grabbed one of my favorite doily dies, and my folder of blue scraps:

I pulled out several scraps that I thought might work, and laid them on top of my kit papers to see which ones would best suit the kit:

I came up with four scraps that I like quite a lot to go with my kit:


And made myself four adorable doilies to go in my kit:


And the last little tidbits that I decided to counterfeit were the exclusive cork tags. I , and my Tim Holtz tag dies and a piece from my 6x6 Cork Stack, and put my Cuttlebug to work again:


I quite like the little cork tags and bits:

I hope I have inspired you to rethink some of your own stash!


Products used:

Thursday, November 21, 2013

Growing in Unity Day 2/Making my own embellishments

The project that I am sharing today is a simple one, but one of my favorite ways to use stamps. I used the Music Of My Heart Stamps once again:
http://unitystampco.com/shop/music-of-my-heart/

I used black Staz-On to stamp the "sheet music" several times onto a larger scrap of cream shimmer cardstock-it's a little harder to see the shimmer online, but for me it's just the right touch! I didn't worry too much about perfect stamping on these (my larger stamping block is packed up for the upcoming move, so I just grabbed one of my Cuttlebug plates and stuck the stamp to it. It actually worked pretty well.)-I knew that I would be cutting it up anyway. I put the stamped cardstock into my Cricut, and cut out various small star shapes using my Plantain Schoolbook cartridge, in sizes ranging from 3 inches down to a 1/2 inch. I tried it at a 1/4 inch, but that was just too small.

I am kind of addicted to stars in my scrapbooking right now, so I think they will be perfect for embellishing my Journal Your Christmas album! However, seeing them scattered on the navy cardstock, I have a sudden urge to make a layout with a navy background and scattered cream shimmer stamped stars...Be still my heart!


Thanks for stopping by today, don't forget to leave a comment on all of my Growing in Unity posts this week to have a chance to win 2 Itty Bitty's of your choice!

Friday, February 10, 2012

Making Your Own Patterned Paper: A Tutorial

Today, I am goingto share my "Counterfeits" of a few of the papers that were included in the Scrapbook Circle kits-just because I loved them so much!
The first (and probably my favorite) was the My Mind's Eye Kraft Funday Streamers:

And this is how I made my "knock-off":

Started with plain ol' kraft cardstock, and some Tim Holtz Tissue tape:

Grabbed a pair of decorative edge scissors- remember these ;-)? Yes, I kept mine!
I cut the bottom edge of the tape with my scissors and attached it to the cardstock, leaving gaps between the strips, and remembering the top edge:
Now, I thought it looked pretty good, but I wanted to soften it and make it blend together a little better:
So I pulled out some chalk ink (don't judge the smudged case, I use my supplies!):

...smudged on a little light brown over the tissue tape:
And the edges:
And violia, awesome patterned paper (if I do say so myself!):
Next up to "Counterfeit", Fancy Pants Love Story "One Heart":


I knew I couldn't do an exact replica, but I could get something similar! So, I gathered my heart stamps and Staz-On Black ink, along with some smooth white cardstock:
 Stamped them, making sure to "bleed them" off of the edges (not sure if that's exactly the right term, but we're going with it):
 Kept on stamping and staggering the types of stamps used:

 And this is the finished product that I came up with:
 Last on the list, the Pebbles With Love "Dear Valentine":
Again, I started with kraft cardstock (and some red pens, and quote stickers):
 I put the stickers on randomly, but evenly spaced, allowing some to "bleed" off the edges:
 Trimmed the overhangs with my trusty Cutterbee scissors:
 Outlined the stickers:
Looks good, but a little bare:
 So, I rummaged through my stash and found some partially used packs of rub-ons and glitter stickers:
 Added them to the empty spaces:
 And came up with a finished paper that I like very much:
I also loved the My Mind's Eye Kraft Funday Ziggity paper:
So, I printed a black chevron digi paper on kraft 8 1/2 x 11 cardstock:
Up in a day or two-I promise, I start sharing how I am using my kit!